

close
Choose Your Site
Global
Social Media
Views: 0 Author: Site Editor Publish Time: 2026-07-29 Origin: Site


Specifying incorrect ceiling panel dimensions or material densities routinely leads to structural sagging, installation delays, and excessive material waste on commercial and residential projects. Navigating the variance in global manufacturing standards—ranging from superficial decorative panels to structural-grade extrusions—makes procurement, compliance, and project planning highly complex for contractors and facility managers. This guide deconstructs exact dimensional tolerances, performance specifications, and finish technologies to provide a framework for evaluating and sourcing the correct PVC ceiling panel for specific environmental demands.
Panel thickness (ranging from 5mm to standard 1/2 inch) directly dictates bending stiffness, moment of inertia, and whether secondary backer boards are required.
Standardized widths (typically 200mm to 300mm) and lengths (up to 2.95m or custom extrusions) must be matched to room dimensions to minimize off-cut waste and eliminate visible butt joints.
Finish selection—whether laminated, hot stamping, or printed—alters surface durability, UV stability, and manufacturer Minimum Order Quantities (MOQs).
Successful implementation requires balancing material density (kg/m²) with weight to mitigate installation risks like ceiling grid failure or thermal expansion buckling, while leveraging lightweight properties for retrofit projects.
Panel thickness serves as the primary indicator of structural integrity. Manufacturers categorize thickness into three distinct tiers. Economy panels range from 5mm to 7mm. Standard commercial panels measure between 8mm and 10mm. Heavy-duty structural panels reach 1/2 inch or 12mm and above. Each category serves a specific functional requirement based on the supporting framework.
The physics of panel thickness directly influence installation methods. Increased thickness exponentially improves the moment of inertia. This physical property dictates overall bending stiffness. A 5mm panel lacks inherent rigidity. It will deflect under its own weight if unsupported over long spans. The hollow core structure within thicker panels utilizes internal webbing to maximize strength while minimizing material weight. This internal I-beam structure prevents the panel from bowing when exposed to gravity and ambient heat.
Installers must identify the critical threshold for direct-to-joist applications. A PVC panel achieving a standard 1/2-inch thickness possesses enough rigidity for direct installation to ceiling joists spaced up to 24 inches on center. This eliminates the need for an additional drywall or plywood backer board. Thinner panels strictly require a continuous substrate or a tightly spaced furring channel system to prevent visible sagging over time. Using a 5mm panel on a 24-inch span guarantees a wavy, compromised ceiling plane within months of installation.
Thickness Category | Dimension Range | Internal Webbing Structure | Maximum Unsupported Span | Primary Application |
|---|---|---|---|---|
Economy | 5mm – 7mm | Single-wall, wide gap | 12 inches (or continuous backer) | Temporary structures, budget retrofits |
Standard Commercial | 8mm – 10mm | Double-wall, standard gap | 16 inches | Offices, retail spaces, bathrooms |
Heavy-Duty | 12mm+ (1/2 inch) | Multi-wall, reinforced gap | 24 inches | Industrial facilities, direct-to-joist |
Width dimensions dictate both the visual aesthetic and the installation speed of a ceiling system. Common width profiles include 200mm, 250mm, and 300mm. Wider panels cover square footage rapidly. This reduces labor hours on large-scale commercial jobs. Narrower panels require more individual pieces per room, increasing handling time but offering distinct structural benefits.
The industry frequently references a standard global profile benchmark. This baseline measures 2.95 meters in length, 30 centimeters in width, and 8 millimeters in thickness. Procurement teams use this specific profile for international sourcing and cost estimation. It represents the most widely manufactured and shipped configuration globally. Standardizing around this profile simplifies logistics and ensures consistent accessory compatibility across different manufacturing batches.
Selecting panel width involves analyzing structural trade-offs. Wider panels offer faster coverage and fewer visible seams. This creates a cleaner, more monolithic ceiling appearance. However, wider spans between interlocking joints can reduce localized rigidity. Narrower panels interlock more frequently across a given span. The increased density of tongue-and-groove joints provides better contouring over uneven framing and higher resistance to localized impacts.
Measure the total square footage of the ceiling plane to determine the baseline material requirement.
Evaluate the framing condition; select 200mm panels for uneven framing to leverage the flexibility of frequent joints.
Select 300mm panels for perfectly level, laser-aligned drop ceiling grids to maximize installation speed.
Calculate the exact number of panels required by dividing the room width by the exposed face width of the chosen panel profile.
Manufacturing lengths directly align with global shipping logistics. Standard extrusion lengths include 2.95m, 10ft, 12ft, 16ft, and 20ft. The 2.95m length specifically maximizes cargo space within standard 20-foot shipping containers. For 40-foot High Cube containers, manufacturers often extrude panels to 5.8m or 5.95m. Custom lengths are possible through continuous extrusion processes, but they complicate freight handling and increase transit damage risks.
Calculating waste factors requires mapping room spans against fixed panel lengths. A room measuring 10 feet across cannot efficiently use 2.95m (approximately 9.6 feet) panels without leaving a gap or requiring a spliced extension. Installers must calculate the exact linear footage needed for continuous runs. Using incorrectly sized panels generates significant off-cut waste, sometimes exceeding 15% of the total material order.
Effective sizing strategies eliminate visible butt joints entirely. Butt joints occur when two panels meet end-to-end. These joints create weak points and disrupt the visual flow of the ceiling. Specifying 12ft panels for a 10ft room span ensures single-panel, seamless runs. The remaining 2ft off-cuts can often be repurposed in smaller areas like closets or hallways, optimizing material usage while maintaining a premium finish.
The lamination process fundamentally alters the surface performance of the extruded core. Manufacturing a laminated PVC ceiling panel involves thermally bonding a multi-layer decorative film directly to the PVC substrate. This process utilizes industrial polyurethane (PUR) hot melt adhesives and heated rollers to create an inseparable bond. The resulting surface carries the texture and visual depth of the applied film.
Performance benefits of lamination extend far beyond basic aesthetics. Laminated surfaces offer superior scratch resistance compared to standard printed panels. The multi-layer film provides deeper texture profiles, accurately mimicking materials like brushed metal, woven fabric, or raw concrete. The top clear-coat layer delivers enhanced UV stability. This prevents yellowing or fading when exposed to natural sunlight through large windows or skylights.
Buyers must establish strict evaluation criteria when sourcing laminated products. Verify the decorative film thickness, typically measured in microns. High-quality films range from 120 to 160 microns. Thicker films resist tearing and puncture during installation. Evaluate the quality of the bonding adhesive. Poor adhesive application leads to delamination, especially in humid environments where moisture penetrates the micro-seams at the panel edges.
Hot stamping represents a distinct surface finishing technology. The process involves transferring ink designs from a carrier film to the panel surface using precise heat and pressure. As the panel passes under a silicone roller heated to approximately 200 degrees Celsius, the thermal energy releases the ink from the carrier film. The design bonds instantly to the PVC substrate, leaving a smooth, integrated finish.
This technology excels in specific architectural applications. A hot stamping PVC ceiling panel proves highly cost-effective for achieving high-gloss, seamless finishes. The smooth surface repels water instantly. This makes it an ideal specification for moisture-rich environments like commercial kitchens, public washrooms, and food processing facilities. The lack of deep surface textures prevents grease and dirt accumulation, allowing for rapid sanitation.
Specifiers must understand the inherent trade-offs of this finish. Hot stamped surfaces exhibit lower impact and scratch resistance when compared to laminated alternatives. The ink layer sits directly on the surface without a heavy protective overlay. Abrasive cleaning tools or accidental impacts during maintenance can scratch the design. Hot stamping suits ceiling applications perfectly but fails prematurely if used on high-traffic lower wall sections where physical contact is frequent.
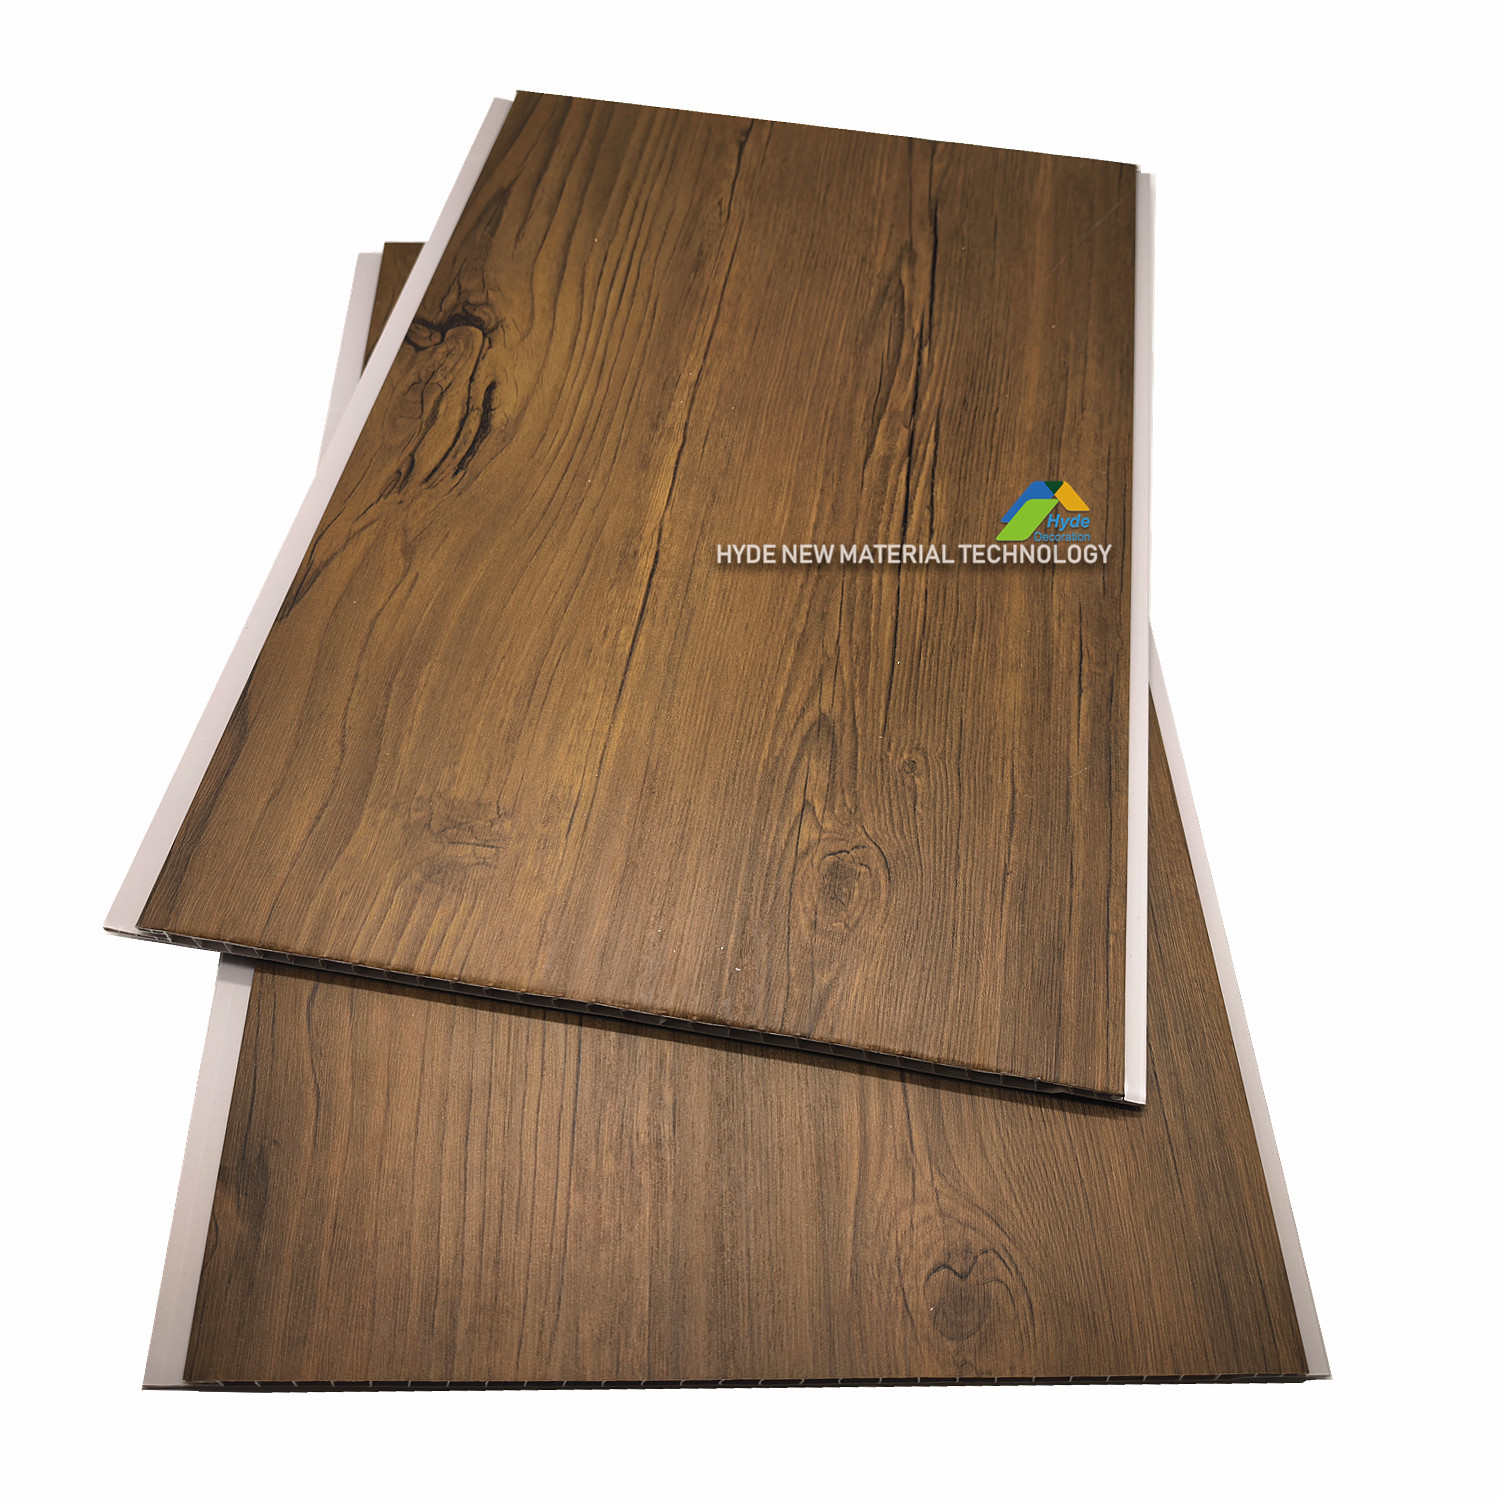
Biophilic design principles increasingly drive commercial and residential architecture. Achieving these aesthetics traditionally required heavy, expensive natural timber. A wood grain PVC ceiling panel delivers the visual warmth of wood without the associated drawbacks. It eliminates the heavy weight, high material costs, and severe moisture susceptibility of natural timber products.
Evaluating wood grain options requires comparing visual fidelity and tactile differences. Flat-printed wood grain panels utilize standard ink jets to create a two-dimensional pattern. They look convincing from a distance but lack realism upon close inspection. Textured, laminated wood grain finishes incorporate physical embossing. The surface film features microscopic ridges that mimic natural wood pores. This provides a highly authentic tactile experience and superior light diffusion across the ceiling plane.
Installation of wood grain panels requires careful pattern management. Installers must stagger the panels to prevent repeating grain patterns from creating an artificial, tiled look. High-quality manufacturers provide multiple grain variations within a single batch to ensure a natural, randomized appearance across large ceiling spans.
Material composition dictates every performance metric of the panel. Manufacturers blend raw PVC resin with calcium carbonate powder during the extrusion process. This ratio strictly dictates panel density. High-quality panels maintain a balanced ratio, typically around 40% resin to 60% calcium carbonate, ensuring flexibility and strength. Low-quality panels often overload the mixture with cheap calcium carbonate filler to reduce production costs.
An inverse relationship exists between density and brittleness. Overly dense panels contain excessive calcium carbonate. These panels become highly brittle and prone to cracking during installation, especially when cut with a utility knife or fastened with screws. Low-density panels lack sufficient raw material mass. They exhibit poor structural integrity, compress easily under pressure, and sag quickly. Finding the exact middle ground ensures long-term performance.
The primary baseline metric for evaluation is weight per square meter (kg/m²). A standard 8mm panel should weigh between 2.4 and 2.8 kg/m². Verifying this metric prevents the procurement of overly hollow or excessively dense materials. Always request technical data sheets confirming the exact kg/m² specification before approving a bulk order.
Panel Thickness | Optimal Weight Range (kg/m²) | Calcium Carbonate Ratio Indicator | Installation Behavior |
|---|---|---|---|
7mm | 2.0 – 2.3 kg/m² | Balanced | Cuts cleanly, flexes without snapping |
8mm | 2.4 – 2.8 kg/m² | Balanced | Holds fasteners securely, resists sagging |
8mm (Low Quality) | 3.2+ kg/m² | Excessive Filler | Shatters when cut, cracks at screw points |
10mm | 3.0 – 3.5 kg/m² | Balanced | High rigidity, excellent span capacity |
Lightweight PVC panels offer a distinct structural advantage for retrofit applications. Their optimized weight-to-strength ratio allows installation directly over existing drywall or plaster ceilings. Contractors can bypass the costly demolition of old ceilings. The existing framing easily supports the minimal added weight, drastically accelerating project timelines without requiring structural reinforcement.
Wet-zone compliance requires strict adherence to waterproofing standards. Panels must feature completely non-porous surfaces. The interlocking joint integrity remains critical. High-quality tongue-and-groove profiles create a capillary break. This prevents moisture from wicking upward into the ceiling plenum. Proper joint design ensures the entire ceiling acts as a continuous moisture barrier, protecting the structural framing above.
The inherent durability and waterproof nature of PVC drastically reduces long-term maintenance requirements. Unlike traditional drywall or acoustic tiles, PVC does not absorb ambient humidity. It completely eliminates the need for repainting. The synthetic composition provides zero nutritional value for mold or mildew spores. This eradicates the need for costly mold remediation in damp environments like indoor pools or commercial locker rooms.
Commercial building codes demand strict fire retardancy classifications. A panel must achieve a Class A fire rating to qualify for most commercial applications. This rating measures two specific metrics under ASTM E84 testing: the flame spread index (must be under 25) and the smoke developed index (must be under 450). PVC inherently self-extinguishes when the heat source is removed. Verifying this Class A certification is non-negotiable for passing municipal building inspections and ensuring occupant safety.
Overseas sourcing requires navigating Minimum Order Quantities (MOQs). Typical MOQs for standard profiles range from 1,000 to 5,000 square meters. Manufacturers set these thresholds to justify the setup time for extrusion dies and printing rollers. Standard white or basic printed panels usually carry lower MOQs. Custom lengths or specialized laminated finishes significantly increase these volume thresholds because they require dedicated production runs.
Project procurement schedules must factor in production and shipping lead times. Manufacturing a bulk order typically requires 12 to 25 days, depending on factory capacity and finish complexity. Transit times add another 30 to 45 days for ocean freight and customs clearance. Failing to account for this 8-week window routinely causes severe project delays. Early specification and ordering remain critical for keeping construction schedules on track.
Quality control documentation protects the buyer from substandard materials. Always request technical data sheets (TDS) before placing a deposit. The TDS must prove dimensional tolerances, exact material composition, and certified fire ratings. Independent laboratory test reports verifying the flame spread index provide the necessary documentation for local building inspectors. Never accept verbal confirmations of material specifications.
Request physical samples of the exact profile and finish to test flexibility and surface adhesion.
Verify the manufacturer's production capacity to ensure they can meet the project timeline.
Confirm the packaging method; panels should be shipped in reinforced cartons with corner protection to prevent transit damage.
Require a pre-shipment inspection report detailing the exact kg/m² weight of the finished batch.
Installation success depends entirely on the supporting framework. Installers must adjust batten, furring channel, or grid spacing based on the specific thickness and bending stiffness of the chosen panel. A 5mm panel requires support battens spaced no more than 12 inches apart. An 8mm panel can span 16 inches. Pushing these limits compromises the structural integrity of the ceiling plane, leading to visible deflection.
High-temperature environments introduce significant sagging risks. Industrial kitchens, sunrooms, or facilities with high-output lighting generate localized heat. If support spans exceed manufacturer recommendations, the PVC material softens slightly. This softening, combined with gravity, induces permanent deflection. Reducing the furring channel spacing by 20% in high-heat zones mitigates this risk entirely. Using metal furring channels instead of timber battens also prevents the framing itself from warping under thermal stress.
Fastener selection plays a major role in support integrity. Installers should use galvanized or stainless steel pan-head screws. The wide head of a pan-head screw distributes the holding force across the nailing flange of the panel. Using countersunk screws or narrow-crown staples often results in the fastener tearing through the thin plastic flange during installation or subsequent thermal movement.
PVC possesses a specific coefficient of linear thermal expansion. The material expands when heated and contracts when cooled. This dimensional change occurs across the length and width of every panel. Ignoring this physical property during installation guarantees structural failure. The ceiling will buckle, warp, or tear fasteners out of the framing as the temperature fluctuates throughout the seasons.
Installation mitigation strategies focus on accommodating this movement. Calculate necessary expansion gaps at the room perimeter. Leaving a 1/4-inch to 1/2-inch (approximately 10mm) gap where the panels meet the wall allows sufficient room for expansion. Perimeter trims, J-channels, or crown molding easily conceal this gap while allowing the panels to float freely beneath.
Avoid over-torquing fasteners. Screws should hold the panel securely to the framing but allow slight lateral movement. Driving screws too tightly locks the panel in place, forcing it to buckle when it attempts to expand. Installers should drive the screw until the head just touches the nailing flange, then stop. This floating installation method ensures the ceiling remains perfectly flat regardless of ambient temperature changes.
Request physical samples to test brittleness and verify surface texture quality before ordering.
Demand technical data sheets verifying kg/m² density and Class A fire ratings from the manufacturer.
Align finish selections with manufacturer MOQs and factor a minimum 8-week lead time into the project schedule.
Calculate exact room dimensions to specify optimal panel lengths, eliminating visible butt joints and minimizing off-cut waste.
A: Standard commercial PVC ceiling panels typically measure between 8mm and 10mm in thickness. Economy panels range from 5mm to 7mm, while heavy-duty structural panels measure 12mm (1/2 inch) or thicker. Thickness dictates the panel's rigidity and required framing support.
A: No. A PVC panel that achieves a 1/2-inch (12mm) thickness possesses sufficient bending stiffness to be installed directly to ceiling joists spaced up to 24 inches apart. Thinner panels require either a continuous backer board or tightly spaced furring channels.
A: Hot stamping transfers a thin ink design directly onto the panel using heat, creating a smooth finish ideal for wet areas. Lamination thermally bonds a multi-layer PVC film to the core, providing superior scratch resistance, deeper textures, and enhanced UV stability.
A: Measure the longest span of the room and order custom panel lengths that exceed this dimension. Specifying 12-foot panels for a 10-foot room allows for continuous, single-panel runs, eliminating weak butt joints and reducing off-cut waste.
A: Yes. Wood grain PVC panels provide the aesthetic warmth of natural timber but remain completely waterproof and non-porous. They will not absorb moisture, warp, or support mold growth, making them perfect for bathrooms and indoor pool areas.
A: Installers must leave a 1/4-inch to 1/2-inch expansion gap around the entire perimeter of the room where the ceiling meets the walls. This gap accommodates the natural thermal expansion and contraction of the PVC material, preventing buckling.