
close
Choose Your Site
Global
Social Media
Views: 0 Author: Site Editor Publish Time: 2026-10-26 Origin: Site


Traditional bathroom demolition uncovers hidden liabilities. Tearing out old tiles often damages underlying plumbing, exposes hazardous materials like asbestos in older properties, and forces extended facility downtime. Property owners face a clear problem: modernizing wet rooms to achieve watertight, compliant finishes without the severe labor costs and operational disruptions of a full tear-out. Over-tile renovations provide the answer. While cosmetic fixes like paint or vinyl decals exist, they fail rapidly in wet environments. Structural overlays offer the most viable long-term, no-demolition solution. Installing solid surface panels directly over existing tile transforms the space quickly while guaranteeing a waterproof barrier. This approach bypasses the dust, noise, and debris removal associated with heavy construction. By leveraging modern polymer and composite materials, you achieve a high-end architectural finish in a fraction of the time.
Demolition is Optional, but Assessment is Mandatory: You can safely install new surfaces over old tiles only if the existing substrate is structurally sound, free of moisture damage, and firmly adhered.
Panels Outperform Cosmetic Fixes: Waterproof bathroom wall panels provide a permanent, structural upgrade with zero grout lines, significantly reducing long-term maintenance compared to tile paint or vinyl stickers.
Seamless Installation is Key: Utilizing large-format materials (like waterproof bathroom wall panels 4x8) minimizes seams, drastically lowering the risk of water ingress in high-moisture zones.
Depth and Clearances Matter: Overlaying adds thickness to walls and floors; successful implementation requires planning for plumbing valve extensions and transition thresholds.
Before applying any new surface, the existing tile must pass strict structural tests. You cannot build a reliable waterproof system over a failing foundation. Perform a tap test across the entire wall. Use the hard plastic handle of a screwdriver or a small rubber mallet. Tap every single tile, paying close attention to the lower half of the shower enclosure and areas around the mixing valve. A hollow, echoing sound indicates the tile has detached from the backer board or the original adhesive has failed.
If more than 10% of the tiles sound hollow, overlaying becomes unsafe. The new panels will pull the loose tiles off the wall under their own weight. You must remove loose tiles and patch the voids with a rapid-setting cementitious filler to create a flush surface. Look closely at the silicone joints around the shower tray or bathtub. Blackened, peeling silicone often hides water tracking behind the bottom row of tiles. If you press firmly on the lower tiles and see water weep from the grout lines, the wall is saturated. You must tear it out. Overlaying a saturated wall traps water, leading to structural joist rot and severe pest infestations. For minor hairline cracks in otherwise solid tiles, apply a thin layer of waterproof membrane tape over the crack before paneling.
Moisture mapping is equally important. Trapping existing dampness behind new materials guarantees catastrophic structural failure. It leads to rapid mold proliferation and substrate rot. Use a non-destructive pinless moisture meter to check the grout lines. Mandatory demolition is required if you discover spongy drywall, active plumbing leaks, or extensive black mold penetrating deep behind the grout lines. You cannot seal over active decay.
Adding a second layer of material increases the dead load on existing walls. Standard drywall and stud configurations handle lightweight PVC overlays easily. Heavy materials like solid stone composites require verification of the wall's load-bearing capacity. Older homes often feature lath and plaster walls behind the tile. Plaster is notoriously brittle and prone to shearing under heavy shear loads. If you are working with lath and plaster, stick strictly to lightweight 3mm PVC panels. Cement board or modern moisture-resistant drywall can handle the heavier 10mm solid core composites without issue. Always locate the wall studs using a deep-scan stud finder. If you need to mechanically fasten any starting trims, anchor them directly into the timber studs, not just the old tile and backer board.
If the original wall exhibits bowing or severe lippage between existing tiles, the new rigid panels will not sit flush. Address high spots with a masonry rubbing stone. Fill deep grout lines or low spots with a rapid-setting patch before panel application. Spatial tolerances dictate the finish quality. Adding 3mm to 10mm of wall thickness impacts existing plumbing fixtures, shower enclosures, and door frames. Measure the clearance around window reveals and door architraves. Ensure shower screens have enough adjustment range in their wall channels to accommodate the reduced enclosure width. Failure to account for this reduced footprint often results in custom glass enclosures no longer fitting the space.
Here is a breakdown of common spatial considerations when overlaying:
Shower Enclosure Tracks: Verify the U-channel depth can handle a 10mm reduction in overall opening width.
Window Reveals: Plan for PVC edge trims to cap the transition between the new panel and the existing window frame.
Door Architraves: Check if the panel thickness will protrude past the existing door casing, requiring a chamfered transition strip.
Modern cladding materials vary significantly in composition and structural behavior. PVC panels offer excellent moisture resistance and lightweight handling. Hollow-core PVC panels feature an internal truss system. This provides rigidity while keeping the overall weight low, making them exceptionally easy to handle in tight bathroom spaces. Acrylic sheets provide a high-gloss, glass-like finish with superior impact resistance. They mimic the look of back-painted glass without the fragility.
Acrylic panels offer the highest scratch resistance among lightweight options. They are ideal for family bathrooms where children might bang hard plastic bath toys against the walls. However, acrylic is harder to cut than PVC. You need a high-tooth-count circular saw blade to prevent edge chipping during installation. PVC cuts easily with a standard utility knife or a fine-tooth hand saw, making it the preferred choice for DIY installers or contractors working in tight spaces without access to heavy cutting equipment.
Solid core composites and high-pressure laminates deliver exceptional thermal stability and rigidity. PVC and acrylic dominate wet room applications because they absolutely reject water absorption. High-pressure laminates require flawless edge sealing to prevent core swelling if water breaches the perimeter. Evaluate the specific impact resistance needed for the facility. Solid core materials withstand heavy physical impacts better than hollow PVC profiles, making them ideal for high-traffic environments.
Proper surface preparation dictates the lifespan of the installation. Glazed tiles naturally repel standard adhesives. To ensure a permanent bond when installing bathroom wall panels over existing tiles, you must break the surface tension.
Follow these exact steps for mechanical preparation:
Degrease the entire wall with a commercial solvent or heavy-duty sugar soap to remove soap scum, hard water deposits, and body oils.
Rinse the wall thoroughly with clean water and allow it to dry completely.
Scuff the ceramic glaze using an orbital sander equipped with 80-grit aluminum oxide sandpaper. You do not need to remove the glaze entirely, just dull the finish to create a mechanical key.
Wipe away all sanding dust with a tack cloth or a rag lightly dampened with denatured alcohol.
Use only high-grab, moisture-curing polymer adhesives. Standard construction adhesives cure through solvent evaporation. This fails between two non-porous surfaces like glazed tile and PVC. Apply the adhesive in continuous vertical beads. This prevents trapped air and condensation pockets behind the cladding. Once applied, use a laminate roller to press the panel into the adhesive bed, ensuring maximum contact area.
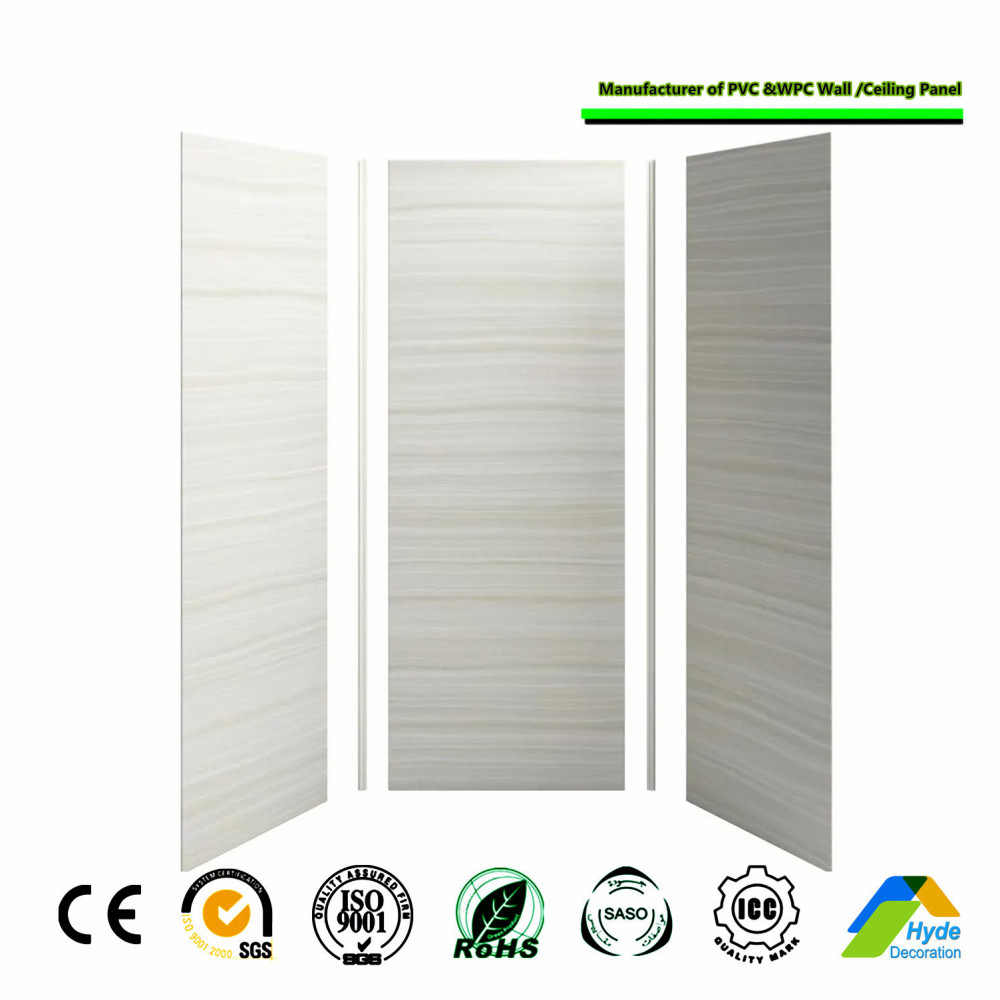
Standard sizing provides a distinct structural advantage in wet zones. Utilizing waterproof bathroom wall panels 4x8 allows installers to cover standard shower enclosures with minimal jointing. A typical alcove shower requires just three large-format panels. This eliminates horizontal seams entirely. Massive surface coverage accelerates the installation timeline drastically.
Fewer seams translate directly to lower failure rates in waterproofing. Every joint represents a potential ingress point for moisture. By maximizing panel size, you reduce reliance on silicone sealants and mechanical trims. Creating a monolithic barrier that sheds water instantly protects the underlying structure far better than traditional small-format tiles. The continuous surface also prevents the accumulation of dirt and bacteria in hard-to-reach crevices.
Building regulations and standard dimensions vary by region. Sourcing materials requires attention to local fire ratings and wet room compliance standards. For example, selecting waterproof bathroom wall panels UK often involves 1000mm wide panels designed specifically for European shower tray dimensions. This differs from North American 48-inch standards.
Verify the Class A fire rating requirements for commercial or multi-family properties. Ensure the chosen cladding meets local code approvals for direct wet zone application. Specifically check the manufacturer's certification for use in continuous water spray areas. Using non-certified materials voids insurance policies and fails building inspections.
Tile paint offers an extremely low initial cost and rapid application. However, these coatings are highly susceptible to chipping, peeling, and chemical degradation from standard bathroom cleaners. The underlying grout lines remain entirely visible. This maintains the dated texture and grid pattern of the original wall. This method serves only as short-term cosmetic staging for property sales. It fails as a durable renovation strategy in high-use wet rooms. The paint inevitably flakes away around drains and showerheads where water pressure is highest.
Peel-and-stick solutions provide fast application without specialized tools. Unfortunately, they exhibit poor performance in direct wet zones like showers. The factory-applied adhesive degrades rapidly under constant humidity and temperature fluctuations. This causes the edges to curl and detach. Water easily penetrates the numerous seams between the vinyl stickers. While acceptable for dry zones such as half-baths or sink backsplashes, adhesive vinyl carries an unacceptably high risk of failure when exposed to direct water spray.
Applying new ceramic over old ceramic maintains a traditional aesthetic. This method adds significant weight to the wall structure. It requires specialized bonding slurries to adhere to the old glaze. Tile-on-tile retains the maintenance burden of grout lines. It solves the aesthetic issue but fails to meet the demand for easier cleaning and zero-porosity surfaces. It remains viable only if spatial tolerances permit the extreme thickness buildup. This often requires relocating plumbing lines entirely.
Smooth, seamless cladding offers the best cost-to-lifespan ratio for over-tile renovations. Waterproof Bathroom Wall Panels eliminate grout maintenance entirely. Without porous grout to harbor mold and mildew, daily cleaning requires only a simple wipe down with a non-abrasive cleaner.
Renovation Method | Water Resistance | Installation Speed | Maintenance Level | Lifespan |
|---|---|---|---|---|
Tile Paint | Low | Fast | High (Requires touch-ups) | 1-3 Years |
Peel-and-Stick Vinyl | Low | Fast | Medium | 2-4 Years |
Tile-on-Tile | High | Slow | High (Grout cleaning) | 15+ Years |
Solid Surface Panels | Maximum | Very Fast | Very Low | 20+ Years |
When properly sealed with sanitary silicone and mechanical trims, solid surfaces provide a guaranteed waterproof barrier. They outlast cosmetic coatings by decades. The structural integrity of the panel ensures the wall remains impact-resistant and visually pristine.
Upgrading the walls immediately highlights aging hardware. Integrate contemporary taps, shower mixers, and showerheads to complement the new wall finish. You can do this without disrupting the concealed plumbing infrastructure. Surface-mounted fixtures are easily swapped.
For concealed valves, utilize matching trim kits and larger escutcheon plates. These oversized plates hide the transition gaps caused by the added wall thickness. They integrate seamlessly with the modern panel profile. Select finishes like matte black or brushed nickel to create a high-contrast, modern aesthetic against neutral wall panels.
Wall overlays alter the junction between the wall and the floor. Manage the height difference between the new wall cladding and existing floor tiles using dedicated transition profiles. Install waterproof baseboards or PVC skirting to ensure a sealed bottom edge.
In wet rooms, the bottom edge of the panel must sit slightly above the floor level. Leave a 3mm expansion gap at the base. Fill this gap using high-modulus sanitary silicone. This accommodates structural movement and prevents capillary water draw up into the panel core. Never rest the panel directly on the shower pan or floor tile without this silicone expansion joint.
Adding 3mm to 10mm of panel thickness pushes the finished wall surface outward. This creates a severe risk of shower valves, mixer spindles, and tub spouts becoming too recessed. You might not be able to attach the handles and spouts correctly.
Mitigate this by pre-purchasing universal valve extension kits specific to your plumbing brand. Plan for escutcheon plate adjustments before panel installation begins. Dry-fit all fixtures over a scrap piece of panel to verify thread engagement. If the threads do not catch, install the extensions before applying the final wall cladding.
Interstitial condensation occurs when warm, moist air penetrates behind the new cladding and hits the cold existing tile. This trapped moisture breeds black mold out of sight. Prevent this by ensuring 100% perimeter sealing.
Use high-modulus sanitary silicone around all edges, pipe penetrations, and joints. Utilize appropriate extrusion profiles such as J-trims for exposed edges and internal corner profiles. These extrusions allow for slight thermal expansion of the panels while maintaining a watertight mechanical seal against the adjacent surfaces.
Panels detaching from high-gloss existing tiles present a major safety hazard. Standard adhesives slide down glazed ceramics under the weight of the panel. Mitigate this risk through strict adherence to mechanical abrasion.
Common Installation Risk | Root Cause | Field Mitigation Strategy |
|---|---|---|
Panel Slippage | Adhesive applied to glossy, unsanded tile. | Sand tiles with 80-grit paper; use temporary timber bracing at the base. |
Bowing Panels | Uneven existing wall or protruding old tiles. | Grind down high spots; apply thicker adhesive beads in low spots. |
Water Ingress at Base | Panel resting directly on the shower pan. | Leave a 3mm gap; fill completely with high-modulus sanitary silicone. |
Sanding the tiles breaks the glaze and provides a physical key for the adhesive. Follow this with chemical priming protocols recommended by the adhesive manufacturer. Apply the adhesive in vertical strips, never in closed loops or circles. Vertical beads allow any trapped moisture or air to escape downward during the curing process.
Perform a comprehensive tap test on all existing bathroom tiles to identify and remove any hollow or loose sections before purchasing materials.
Measure the exact height and width of your shower enclosure to calculate the required number of large-format panels and minimize waste.
Order universal plumbing valve extension kits compatible with your current shower fixtures to account for the added wall thickness.
Purchase an 80-grit orbital sander and high-modulus sanitary silicone to ensure proper mechanical adhesion and watertight perimeter sealing.
A: Yes, you can install panels directly over shower tiles if the existing wall is structurally sound and free of moisture damage. The tiles must be thoroughly degreased and scuffed to ensure proper adhesion. Use a high-grab, moisture-curing polymer adhesive designed specifically for non-porous surfaces in wet zones.
A: Yes, sanding is highly recommended. Ceramic tiles have a slick, glazed surface that repels adhesive. Lightly sanding the tiles with 80-grit sandpaper breaks the surface tension and creates a mechanical key. This allows the polymer adhesive to bond permanently to the old wall.
A: Wall panels typically add between 3mm and 10mm of thickness, depending on the material chosen. Solid core panels are thinner, while hollow PVC profiles are thicker. You must account for this added depth when reinstalling shower valves, tap handles, and door frames, often requiring plumbing extension kits.
A: Yes, overlaying panels is significantly more cost-effective than retiling. While premium panel materials have an upfront cost, you eliminate the massive labor expenses associated with demolition, waste disposal, waterproofing membranes, and grouting. The installation time is reduced from weeks to mere days.
A: Edges are sealed using a combination of mechanical extrusion trims, like aluminum or PVC J-trims, and high-modulus sanitary-grade silicone. The silicone is applied inside the trim channels before inserting the panel. This creates a flexible, watertight barrier that accommodates thermal expansion.
A: Moisture trapping is a risk only if installation protocols are ignored. Proper perimeter sealing and applying adhesive in continuous vertical beads prevent moist air from entering the cavity. Vertical adhesive lines allow any incidental condensation to drain downward rather than pooling behind the panel.
A: Absolutely. Solid surface panels completely eliminate porous grout lines. Grout naturally absorbs moisture, soap scum, and breeds mold, requiring harsh chemicals and scrubbing. Smooth panels require only a simple wipe down with mild soap, drastically reducing your long-term bathroom maintenance burden.