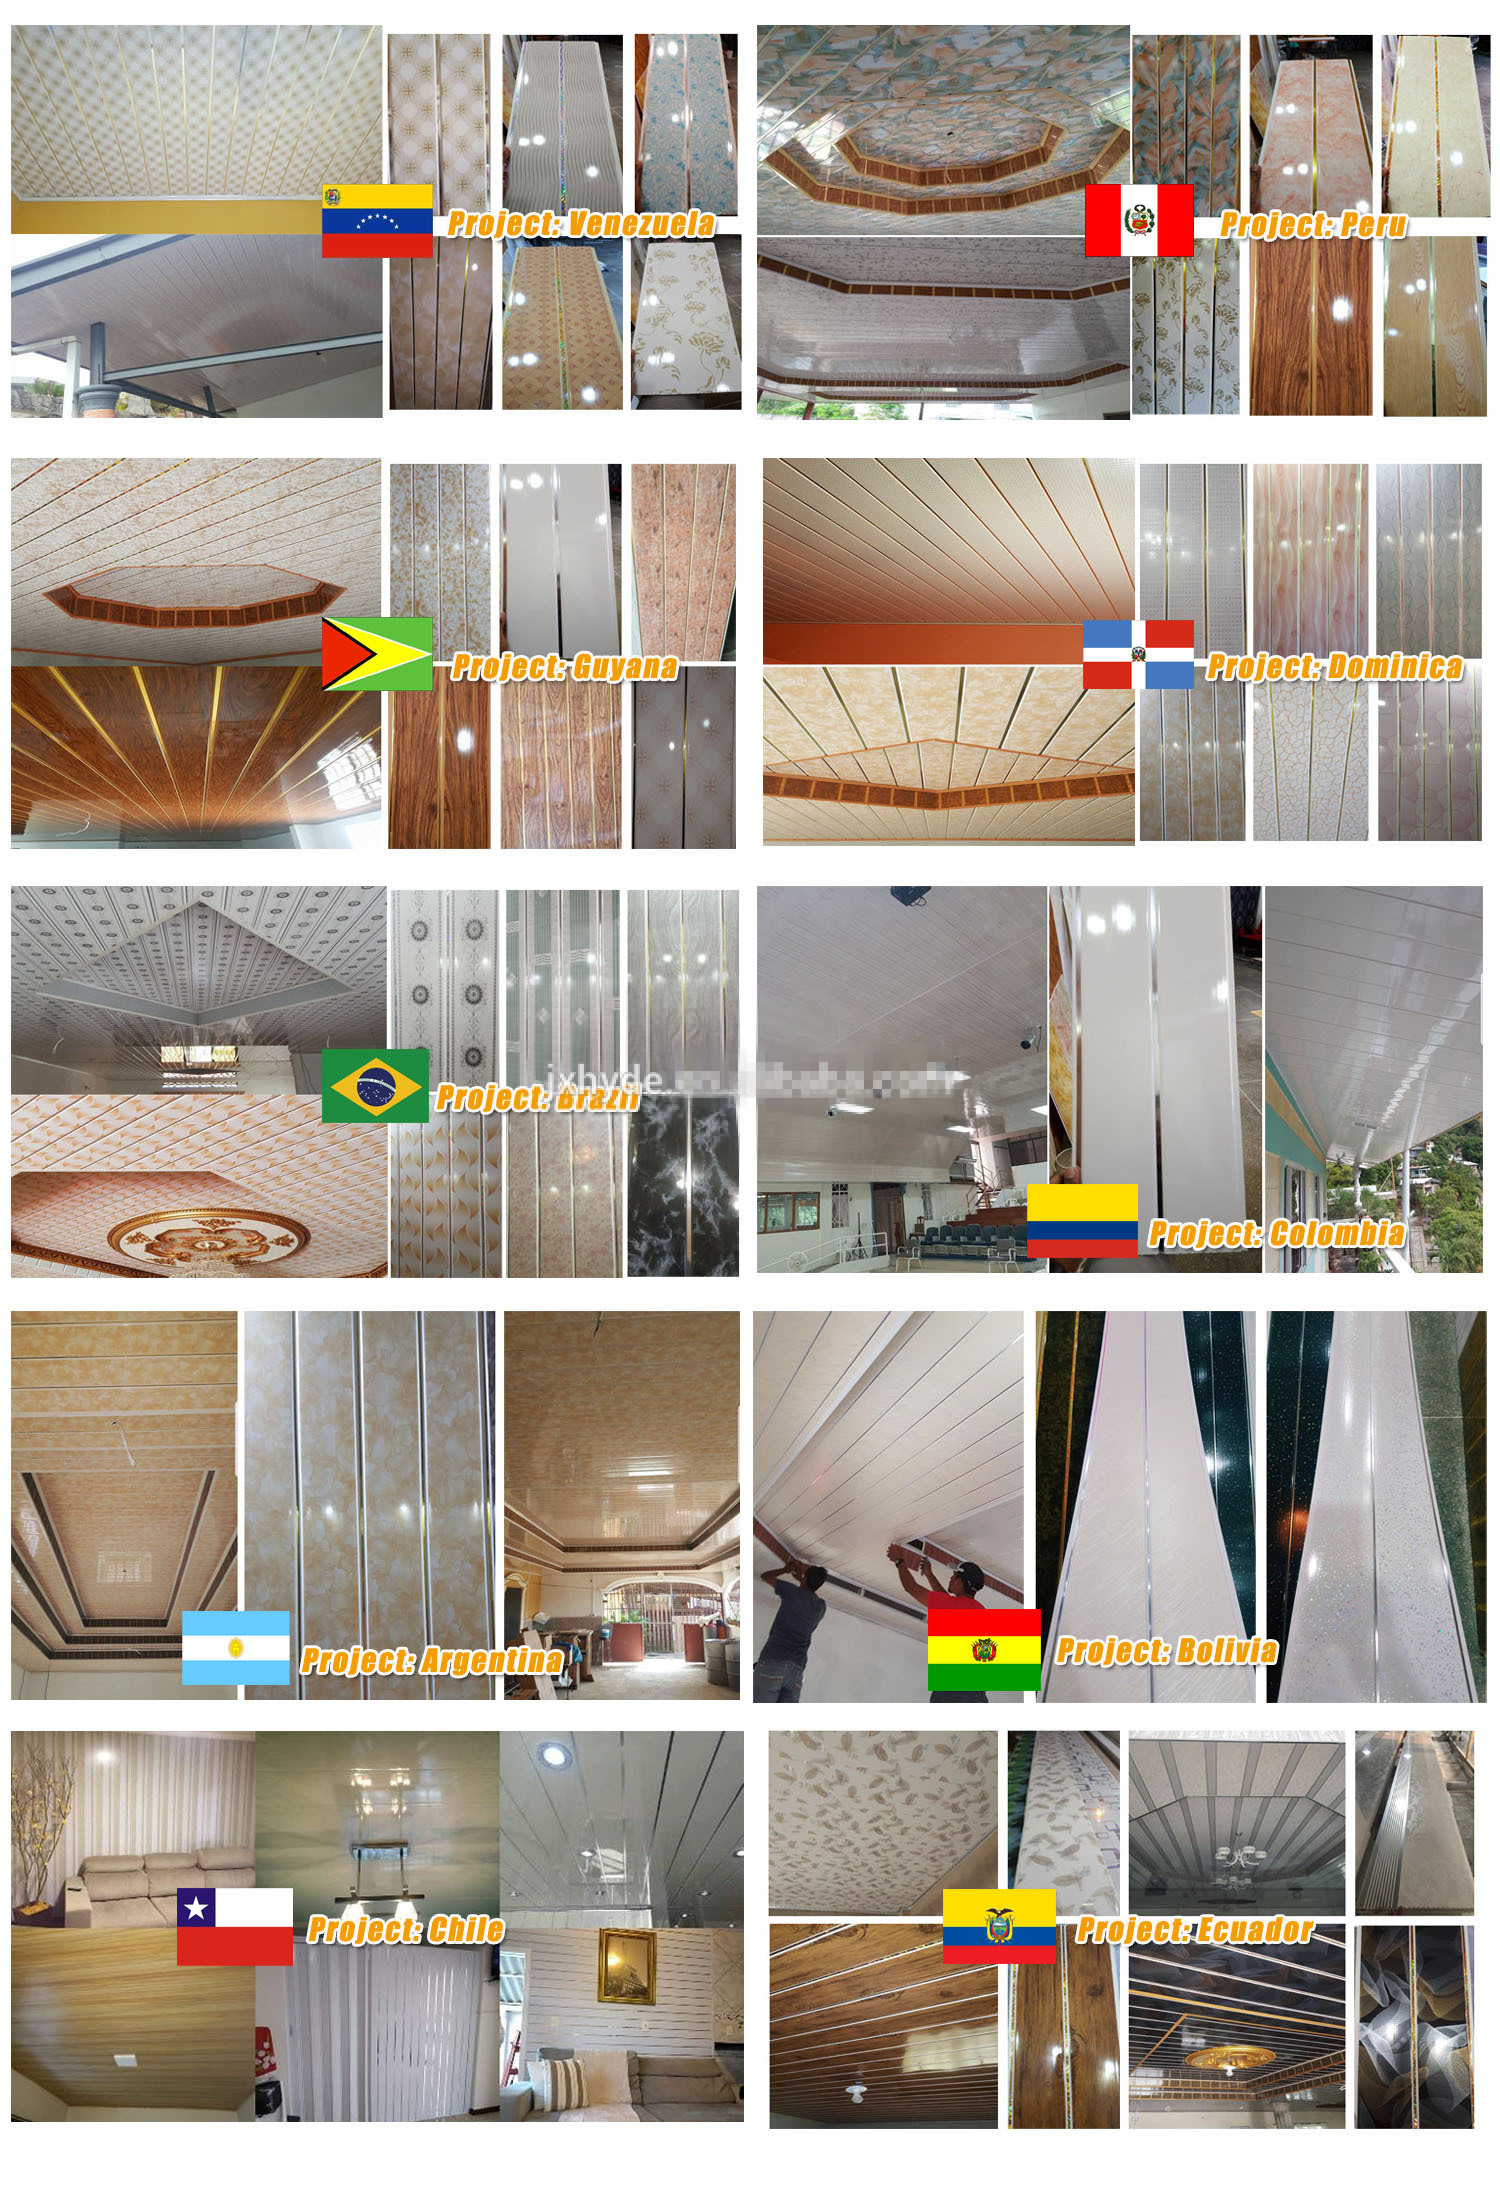
pvc ceiling panel installation and decoration feedback
You are here: Home » Blogs » Applications » pvc ceiling panel installation and decoration feedback

pvc ceiling panel installation and decoration feedback

Views: 0     Author: Site Editor     Publish Time: 2025-03-12      Origin: Site

facebook sharing button
twitter sharing button
line sharing button
wechat sharing button
linkedin sharing button
pinterest sharing button
whatsapp sharing button
kakao sharing button
snapchat sharing button
telegram sharing button
sharethis sharing button

PVC Ceiling Panel Installation Guide

This installation guide provides a general reference for installing PVC ceiling panels. Actual steps may vary depending on the ceiling structure, panel size, and local building practices.

```

Prepare Tools and Materials

Before installation, prepare the following items:
  • PVC ceiling panels

  • Ceiling grid or wooden battens

  • Screws, nails, or adhesive

  • Measuring tape

  • Level ruler

  • Utility knife or saw

  • Drill

  • Ladder

  • Pencil

  • Safety gloves and goggles

Make sure all panels are undamaged and the ceiling area is clean, dry, and free from dust.

Measure the Ceiling Area

Measure the length and width of the ceiling carefully. Calculate the number of panels needed based on the ceiling size. It is recommended to add 5% to 10% extra panels for cutting errors and future replacement.
Mark the ceiling with a pencil to indicate the installation lines. Use a level ruler to ensure the lines are straight and even.

Install the Supporting Frame

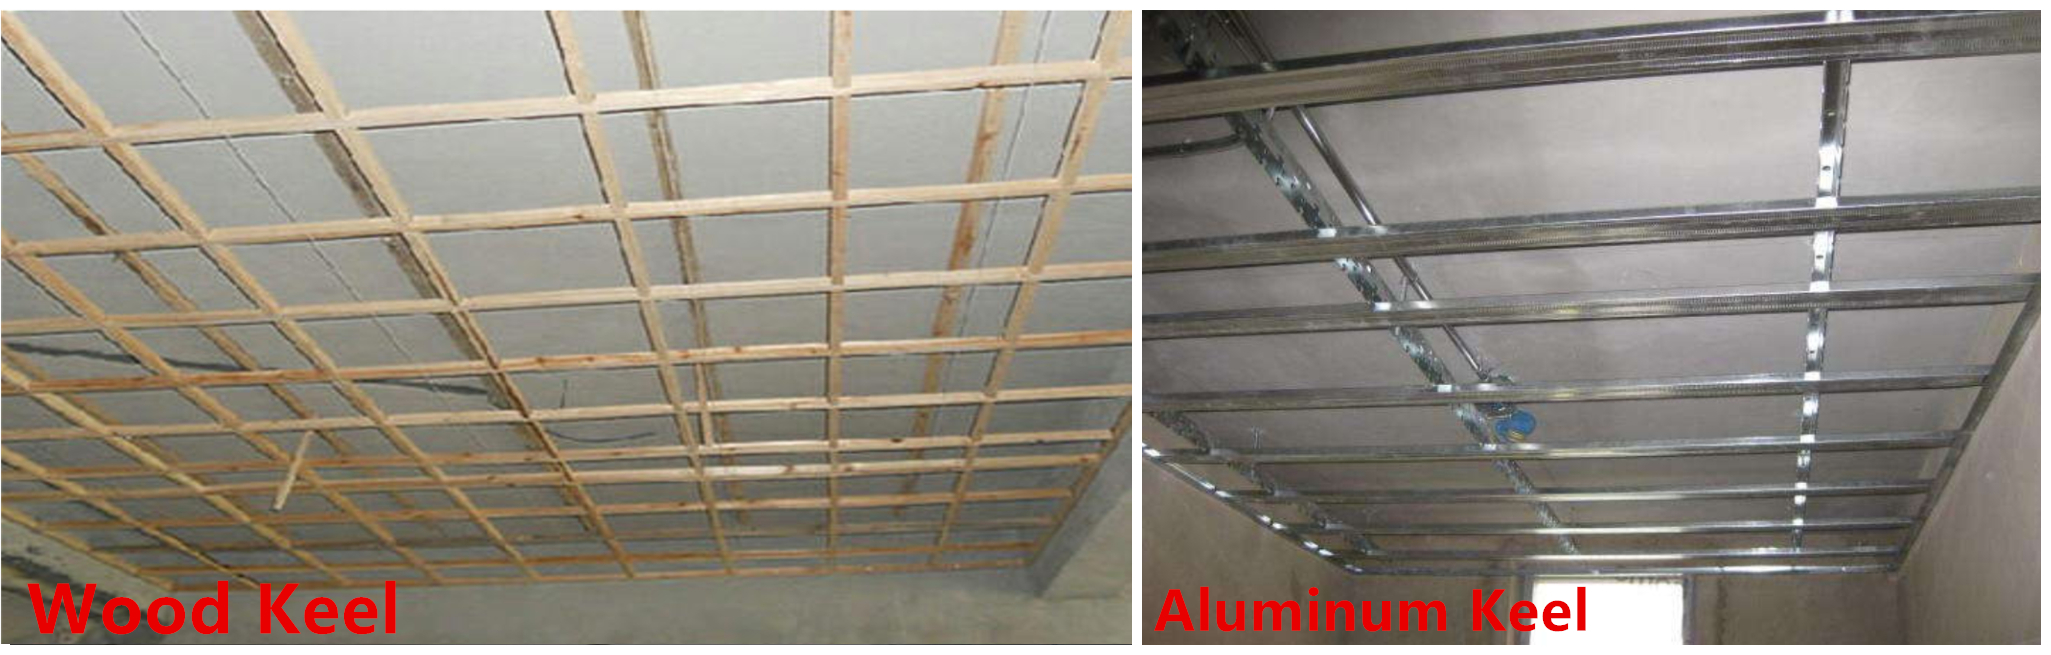
PVC ceiling panels are usually installed on a supporting frame, such as a wooden batten system or a metal ceiling grid.
For wooden battens:
  • Fix the battens along the ceiling edges.

  • Keep the battens level and firmly attached.

  • Ensure the frame structure can support the weight of the panels.

For metal grid systems:
  • Install the main T-bars first.

  • Then install the cross T-bars.

  • Check that the grid squares match the panel size.

A stable and level frame is very important for a neat final result.
龙骨效果

Cut the PVC Panels

Before cutting, measure the exact size of each panel needed. Mark the cutting line clearly on the panel surface.
Use a utility knife or a fine-tooth saw to cut the panel. Cut slowly and avoid applying too much pressure, which may cause cracking or chipping.
After cutting, remove any rough edges before installation.

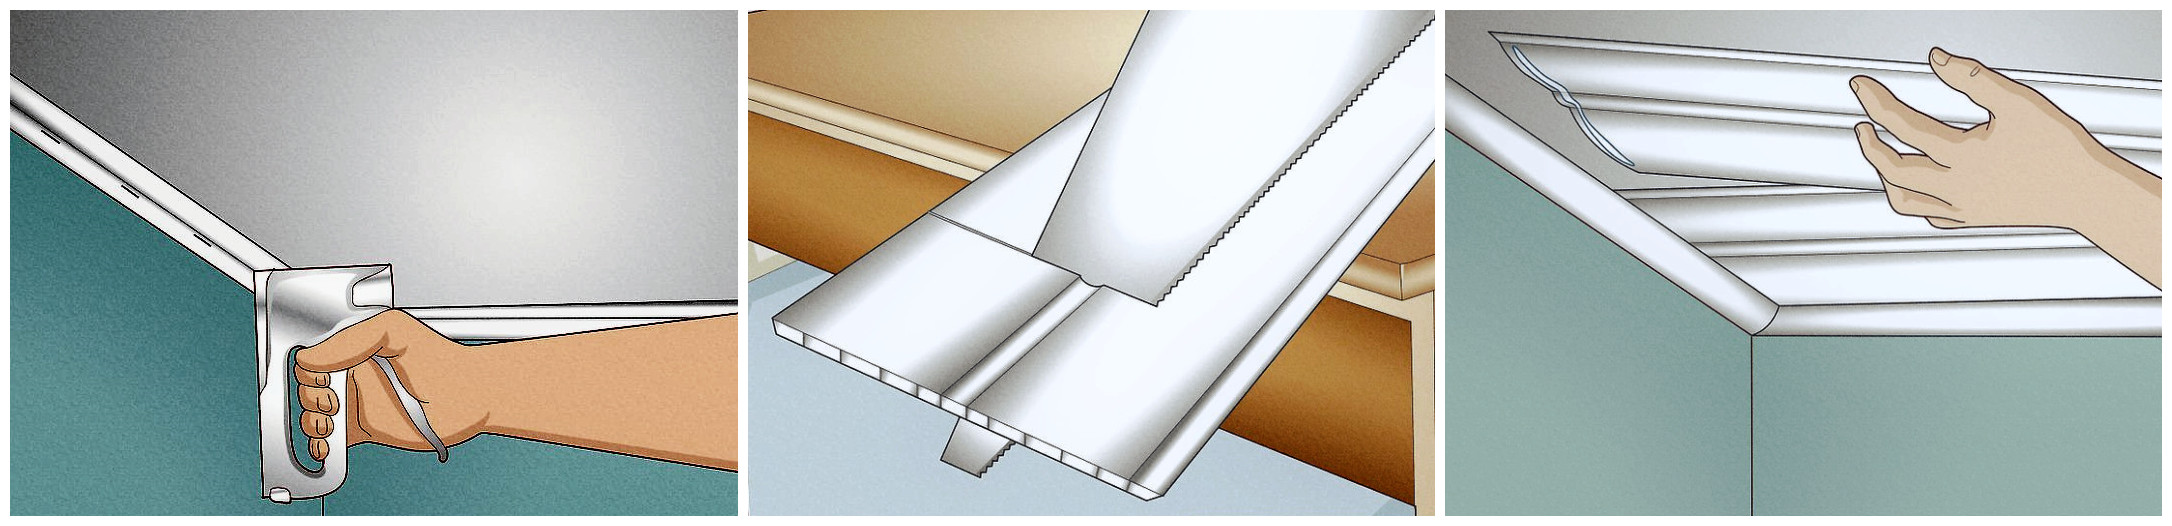
Install the Panels

Start installation from one corner of the ceiling. Place the first panel into the frame and make sure it fits level.
For hidden fastening systems:
  • Insert the panel into the groove of the previous panel.

  • Fix the panel with screws or clips along the edge.

  • Do not over-tighten the screws.

For exposed grid systems:
  • Simply place the PVC panel into the grid opening.

  • Make sure all four edges rest evenly on the T-bars.

Continue installing panels one by one until the entire ceiling is covered.
installation of pvc ceiling panel

Fit Around Lights and Vents

When the ceiling has lights, air vents, or other fixtures, mark the position on the panel before cutting.
Cut an opening slightly smaller than the fixture size. Then adjust the opening until the fixture fits properly.
Do not install panels too close to heat sources. Leave enough space for ventilation and heat dissipation.

Check and Clean Up

After all panels are installed, check the following:
  • All panels are level.

  • Joints are evenly aligned.

  • Panels are securely fixed.

  • There are no visible gaps or damaged edges.

Finally, clean the ceiling surface with a soft cloth. Remove any dust, fingerprints, or installation marks.

Important Notes

  • Do not install PVC panels in areas with high temperature or open flame.

  • Keep the ceiling dry before installation.

  • Do not use strong chemicals to clean the panels.

  • Wear safety gloves and goggles during cutting and installation.

  • If the ceiling area is large, work with another person for safer installation.

Simple Installation Summary

Measure the ceiling area, install a level frame, cut the PVC panels to size, and fix them one by one into position. Finish by checking alignment, fitting fixtures, and cleaning the surface.

installation

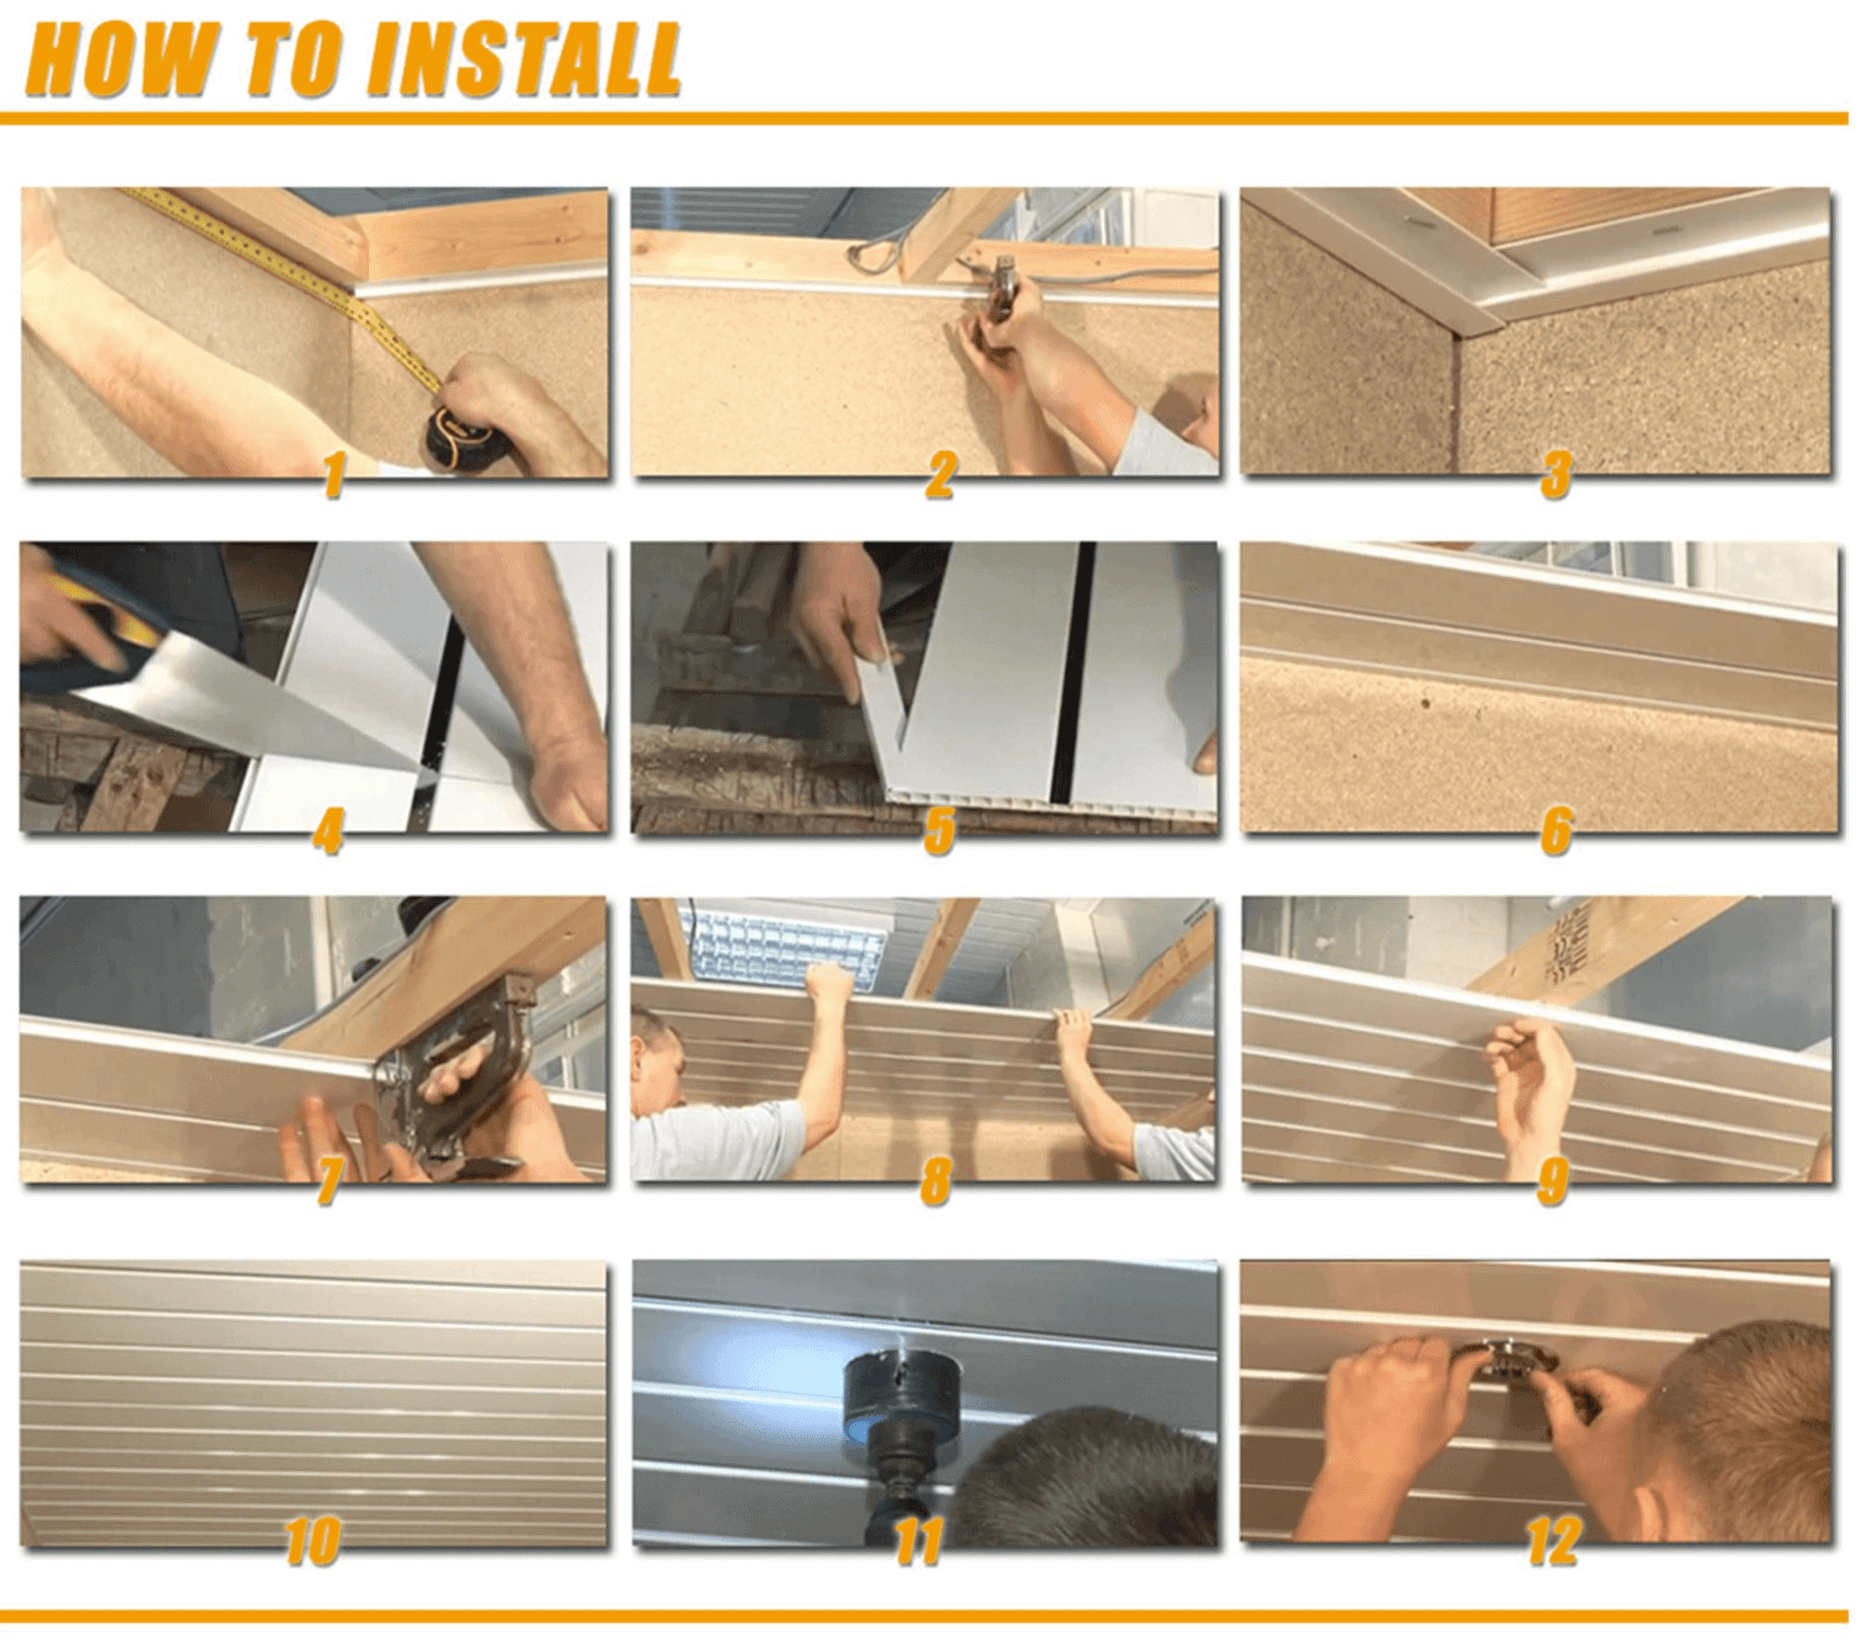
Fix the wooden structures onto the ceiling as below to build the frame before installation the pvc panel (Recommended space between each horizontal wooden battens around 50cm(Aluminum keel also ok )

1.Measure the size of the installation space;
2.3Cut suitable size for U clips /top clips ,install on by screws .
4.5.6.Cut the first pvc ceiling panel's siding soft tongue, make it close and insert to the clip,with screws on pvc ceiling panel and wood keel with 50cm distance .
7.8.9 same steps to put on screws and insert the pvc ceiling panel .
10.11.12. Make the hole on pvc ceiling panel as need to install the light .


After installation ,you will get 
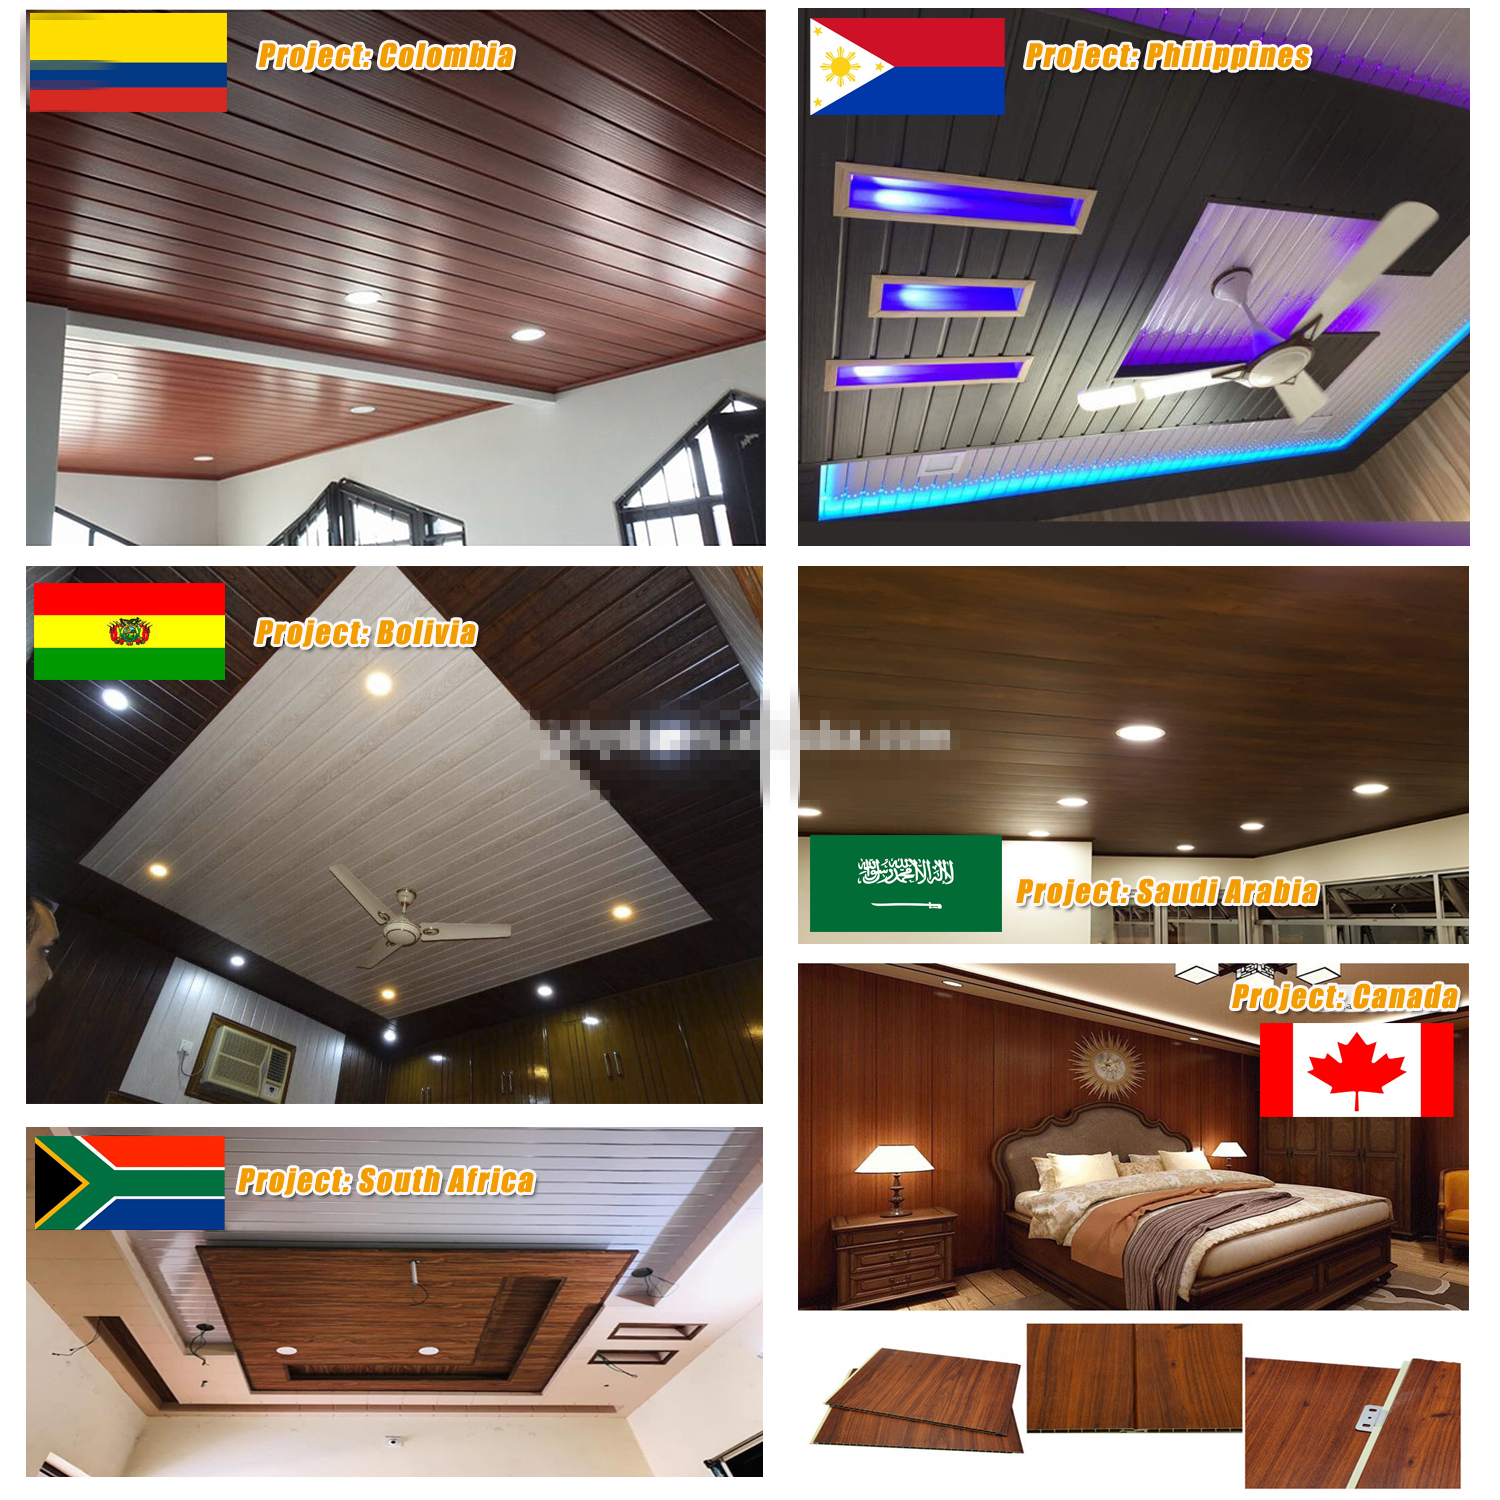
decoration 01

decoration 02

PVC扣板实景安装方式生成 (3)(1)


About Company

With our commitment to quality, innovation, and customer service, we look forward to partnering with you to create more beautiful and comfortable living and working spaces.

Quick Links

Products

Contact Us
Copyright© 2026 Jiaxing Hyde New Material Technology Co., Ltd. All Rights Reserved. SitemapPrivacy Policy