

close
Choose Your Site
Global
Social Media
Views: 0 Author: Site Editor Publish Time: 2026-08-12 Origin: Site


Improper composite material installation carries hidden structural costs. You might face material waste, voided warranties, and premature aesthetic degradation. Many buyers operate under a costly misconception, assuming composite cladding is universally plug-and-play. This is rarely the case. Without proper site evaluation, premium panels will warp. Poor substrate preparation traps moisture behind the walls. Incorrect fastening methodologies cause interlocking joints to fail under stress. You cannot bypass technical site readiness.
This guide provides a technical framework for evaluating site conditions. You will learn how to avoid common installation errors. We cover how to select the right fastening methodologies, comparing adhesives against mechanical clips. You will understand how to mitigate long-term structural risks before procuring materials. Proper planning ensures your WPC wall panel performs exactly as engineered.
Substrate Preparation is Paramount: Structural soundness, wall flatness, and moisture levels dictate the viability of the installation; uneven walls require specific mitigation like furring strips.
Fastening Methods Must Match the Environment: The choice between adhesive, mechanical clips, or hybrid fastening depends entirely on panel weight, wall type, and expected temperature fluctuations.
Thermal Expansion is Non-Negotiable: Failing to account for environmental acclimation and expansion gaps is the leading cause of interlocking system failure.
Specialized Panels Require Specialized Handling: Features like 3D textures, acoustic slat profiles, or waterproofing demand specific framing support, pattern alignment, and joint sealing techniques.
You must establish strict baseline requirements for the existing wall before opening a single box of material. The substrate must be dry, smooth, clean, and structurally sound. Do not install panels over compromised surfaces. Flaking paint prevents adhesives from bonding properly, as the glue will simply pull the loose paint away from the drywall paper. Uneven masonry causes panels to bend out of shape, stressing the interlocking joints. Compromised drywall cannot hold mechanical anchors under load.
Test the wall for moisture before committing to an installation method. Push a pinless moisture meter into the drywall or plaster in several locations, especially near the floor and around windows. Readings above 12% indicate a hidden leak or poor ventilation. Address these moisture issues first, or the trapped dampness will breed mold behind your new cladding. Next, check plumbness using a 6-foot aluminum spirit level. Place it across the wall vertically, horizontally, and diagonally. Mark any high or low spots that deviate more than 1/8-inch. You will need to shim or sand these areas later.
Material verification remains a mandatory pre-installation step. Verify the panel grade matches the environment. You must ensure a WPC indoor wall panel is never misapplied in an exterior setting. UV exposure and extreme weather will cause rapid degradation. Indoor panels lack the heavy UV inhibitors required to withstand direct outdoor sunlight, and their core composition is not designed for freeze-thaw cycles.
Wood-plastic composites react heavily to environmental changes. They expand and contract based on ambient temperature and humidity. The wood fibers suspended in the core absorb trace moisture from the air. The plastic polymers expand when heated. You must allow the material to adjust to the room's specific climate before installation.
The industry standard for acclimation requires patience. Leave the panels in the installation environment for 48 to 72 hours. Ensure the room's HVAC system is running at normal occupancy levels. If you install panels in a freezing house that will later be heated, the panels will expand massively once the heat turns on.
Keep the panels in their original boxes but open the ends to allow airflow.
Lay the boxes completely flat on the floor.
Do not lean them against a wall, as gravity will cause the composite to bow permanently.
Keep the material off raw concrete floors by placing wooden blocks or a tarp underneath, preventing moisture wicking.
Skipping the acclimation step leads to immediate post-installation failures. Cold panels installed in a warm room will expand rapidly. This expansion causes buckling across the wall. It forces interlocking joints to separate and can even shear the heads off your mechanical fasteners. Acclimation prevents these structural failures.
Adhesive installation works best under specific, controlled conditions. Use this method on perfectly flat, primed drywall. It suits lightweight panels that do not carry heavy structural loads. You must select the correct adhesive type for the composite material, as standard wood glues will not bond to the plastic polymers in the panel's core.
Heavy-duty construction adhesive provides a strong initial grab, keeping the panel from sliding down the wall while the glue cures. Polyurethane-based adhesives offer superior flexibility, allowing for slight panel movement during seasonal temperature shifts. Apply the adhesive in a continuous serpentine pattern along the back of the panel. Keep the adhesive bead about one inch away from the edges to prevent squeeze-out.
Consider the trade-offs of adhesive-only applications. You gain a faster initial installation without the need for pneumatic tools. However, removal becomes incredibly difficult and often destroys the drywall behind it. Adhesives offer lower shear strength compared to screws. You also face the risk of adhesive failure on dusty or unprimed surfaces. Always wipe the wall down with a damp cloth and let it dry completely before applying glue.
Adhesive Type | Best Application | Cure Time | Flexibility After Curing |
|---|---|---|---|
Polyurethane Construction Adhesive | Primed drywall, plywood, uneven masonry | 24-48 hours | High (Accommodates thermal expansion) |
Standard Panel Adhesive | Perfectly flat, clean drywall | 24 hours | Low (Rigid bond) |
100% Silicone Sealant | Wet zones, interlocking grooves | 12-24 hours | Very High (Waterproof) |
Mechanical fastening provides superior hold and structural integrity. Installers use screws, brad nails, and hidden clip systems to secure the cladding. Interlocking mechanisms, like tongue and groove profiles, integrate perfectly with mechanical fasteners. You drive the fastener through the extended back flange of the groove. When you slide the next panel into place, its tongue overlaps and conceals the hardware. This creates a seamless, professional finish.
You must anchor mechanical fasteners directly into wall studs. Relying solely on drywall anchors introduces significant risk. Drywall anchors can pull out under the sustained weight of composite cladding, especially if the wall experiences vibration from doors closing. Use a magnetic stud finder to locate and mark all vertical supports before starting your layout.
Orientation logic dictates your framing support rules. Directional installation requires opposing support structures. If you plan a vertical panel layout, you must install horizontal furring strips across the studs. If you plan a horizontal panel layout, you can fasten directly to the vertical studs, provided they align with your fastening points. Fasten any furring strips directly into the structural framing using 3-inch wood screws.
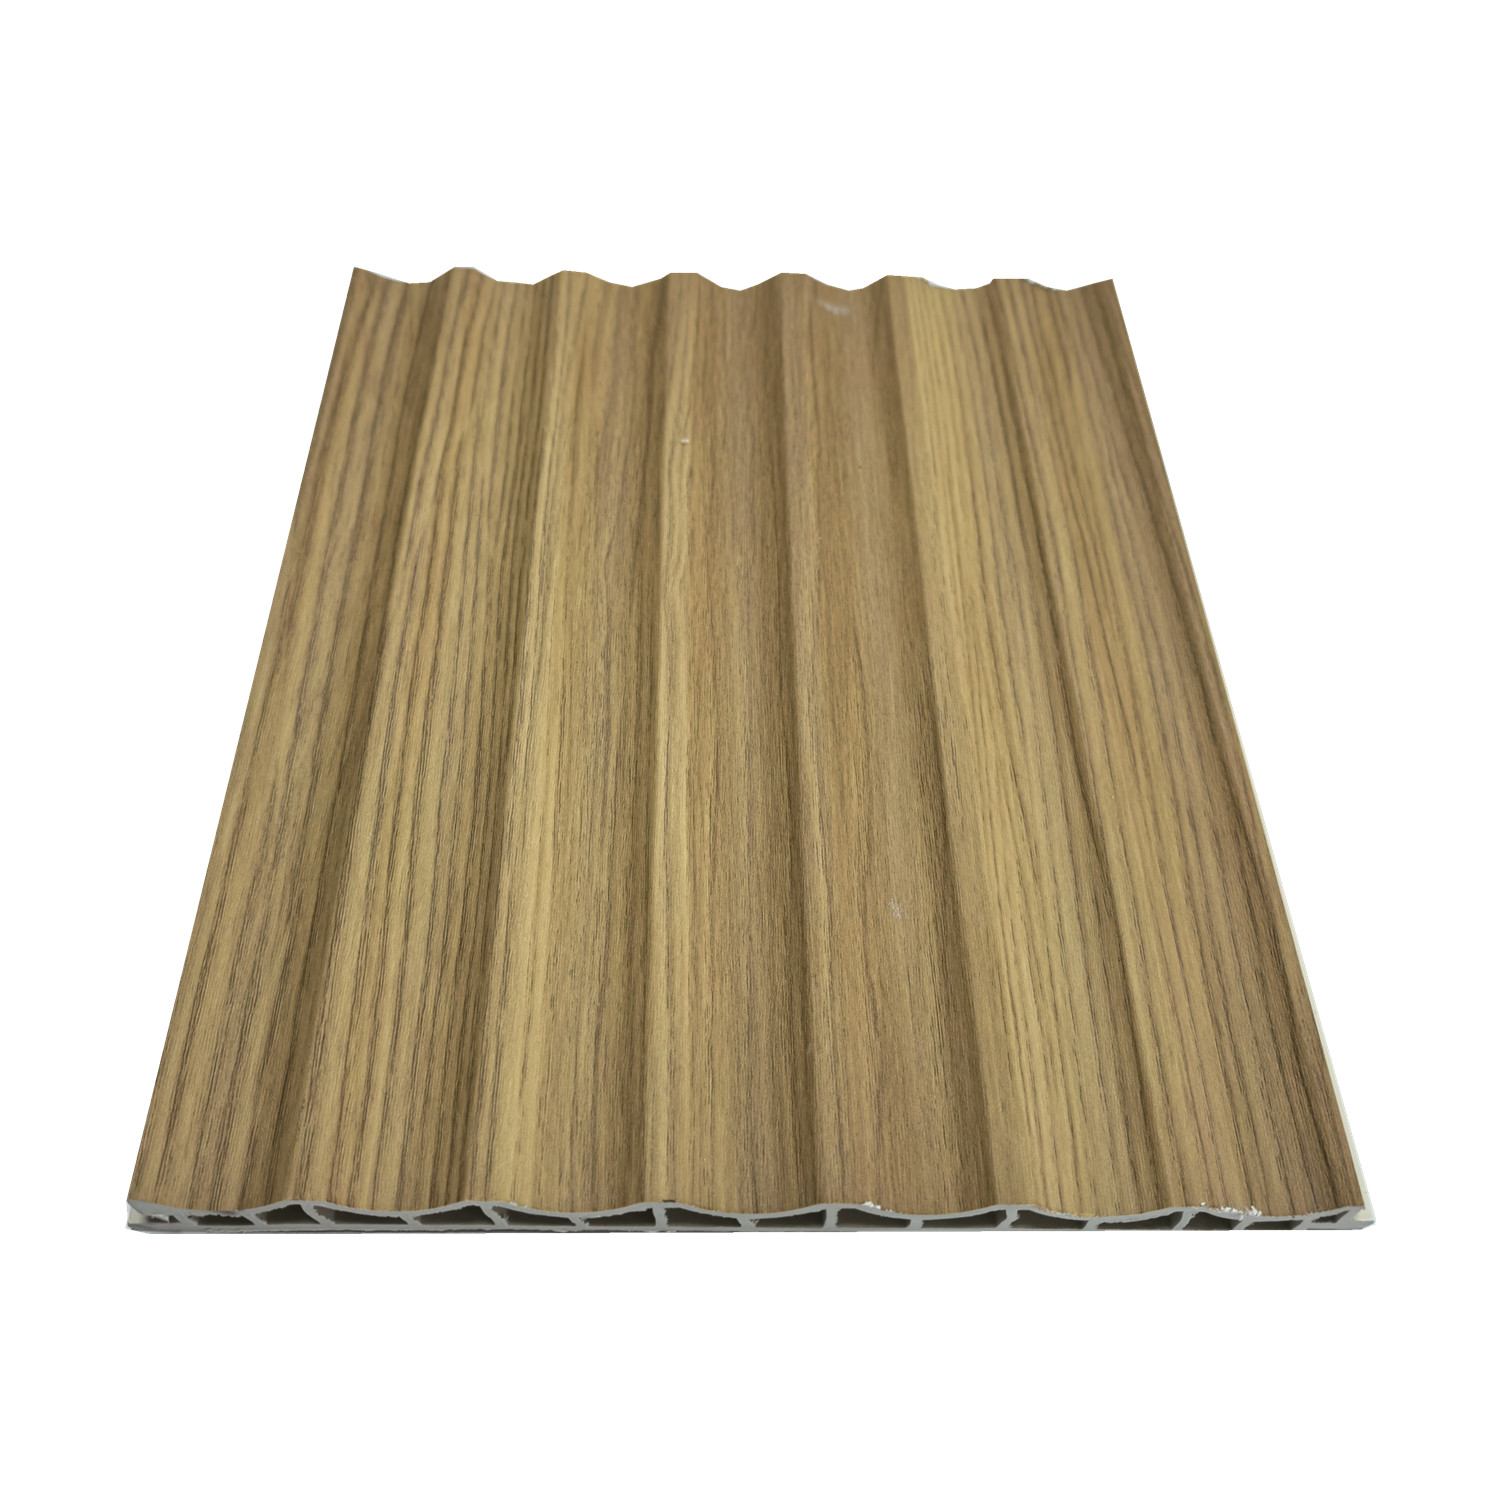
Combining construction adhesive with mechanical fasteners provides the highest structural integrity available. The adhesive prevents the panel from vibrating, rattling, or bowing outward between the studs. The mechanical fasteners lock the panel into the framing, preventing gravity from pulling the panels downward while the adhesive cures.
We recommend the hybrid approach as the standard for demanding environments. Use it in commercial spaces, hallways, and high-impact residential zones. It is absolutely necessary for heavier acoustic slat panels. The dual fastening method ensures the installation withstands daily physical impacts, such as bumping furniture or heavy foot traffic.
The baseline installation flow applies to flat, fluted, or slat-style indoor panels. Start from the bottom corner of the room. Level the first panel perfectly, as every subsequent panel follows the alignment of the first. If the first panel is off by a fraction of an inch, the error will compound across the wall, resulting in a visibly slanted installation by the time you reach the opposite corner.
Acoustic considerations change the installation approach slightly. Fluted or slat panels often feature an acoustic felt backing. This maximizes sound dampening in media rooms or offices. You must drive your mechanical fasteners through the felt backing directly into the substrate. Do not rely on adhesive alone for felt-backed panels. The adhesive will bond to the felt, but the heavy composite slats can pull the felt away from the wall under tension. Use screws with wide washer heads to prevent the fastener from pulling through the soft acoustic backing.
High-relief surfaces introduce complex alignment challenges. Pattern matching becomes your primary focus. You must ensure seamless joint alignment across the textured faces. Misaligned 3D patterns create harsh visual disruptions that ruin the aesthetic. Lay out the panels on the floor first to verify the pattern sequence before applying any adhesive or driving any nails.
Cutting a 3D textured WPC wall panel requires specific tooling. Standard framing blades will splinter the composite face and ruin the 3D relief profile. Use an 80-tooth carbide-tipped saw blade designed for plastics or non-ferrous metals. Apply a strip of blue painter's tape over the cut line before running the saw. The tape holds the composite fibers together and prevents surface chipping during the cut.
Corner detailing requires careful planning. You cannot easily bend or miter high-relief profiles without exposing the hollow core. Use proprietary edge caps designed specifically for textured panels. These caps conceal the exposed composite core. They provide a clean, finished transition at outside corners, window returns, and wall edges.
Buyers often misunderstand waterproof cladding. The panel itself resists water entirely. It will not swell, rot, or degrade when exposed to moisture. However, the substrate behind it and the joints between the panels are not inherently protected. Water can seep through unsealed interlocking grooves. This moisture becomes trapped behind the cladding, destroying the drywall and breeding black mold.
Wet zones require strict sealing protocols. You must apply waterproof sealants within the interlocking grooves during assembly. Run a thin, continuous bead of clear 100% silicone along the tongue before pressing the panels together. Do this in kitchens, bathrooms, and damp basements. Wipe away excess silicone immediately with a damp rag before it cures on the decorative face.
Evaluate the need for secondary moisture barriers. High-humidity environments pose a massive risk to the structural framing. Install a liquid-applied waterproofing membrane or a 6-mil plastic vapor barrier over the drywall before installing the cladding. This protects the structural framing behind a waterproof WPC wall panel.
Wood-plastic composites possess a specific expansion coefficient. They change size as temperatures fluctuate throughout the year. If you install panels tight against adjacent surfaces, they have nowhere to go when the room heats up. The resulting pressure causes the panels to buckle outward, ripping fasteners out of the wall.
Provide actionable mitigation by leaving specified expansion gaps. Leave a 1/4-inch gap at the ceiling and the floor. Leave similar 1/4-inch gaps at inside corners and around window frames. Conceal these necessary gaps with baseboards, crown molding, or corner trim. Fasten the trim to the wall or ceiling, not directly to the panels. This allows the panels to float and expand freely behind the trim.
Installing directly over uneven masonry or bowed drywall guarantees a failed interlocking system. The panels will follow the dips and bows of the wall. This forces the tongue and groove joints to pop open under tension. You must create a plumb framework first.
Install a batten system or furring strips. Use 1x2 or 1x3 wooden strips fastened to the wall.
Space the furring strips 16 inches on center.
Use wooden shims behind the strips to fill any gaps caused by wall depressions.
Check the entire grid with a long level to ensure a perfectly flat plane.
Secure the strips with masonry screws if attaching to brick or concrete.
This process involves a clear trade-off. You lose a slight amount of square footage in the room due to the thickness of the furring strips. In exchange, you gain a perfectly straight, secure panel installation. The flat framework prevents interlocking joints from separating under stress and provides a solid anchoring point for your fasteners.
The tongue-and-groove edges remain fragile during installation. They are thin composite extrusions designed to interlock, not to bear blunt impact. Striking the edges directly with a hammer will fracture the composite material. Once broken, the joint loses its holding power and the panel must be discarded.
Use proper tapping blocks. Place a specialized tapping block against the groove edge. Strike the block gently with a rubber mallet. This distributes the force evenly across the entire edge and seats the panel without fracturing the composite.
Avoid the common error of over-driving fasteners. Sinking screws or brad nails too deeply crushes the locking flange. A crushed flange prevents the next panel from seating correctly, leaving a visible gap in the wall. Set your drill clutch to a low torque setting. Drive the fastener flush with the surface, stopping before it bites into the plastic.
Evaluate the risk-to-reward ratio of self-installation. Simple, flat walls with lightweight panels suit experienced DIYers. If you are covering a single accent wall with no windows or outlets, the labor effort is minimal. However, complex room layouts increase the risk of errors and material waste. Cutting around windows, electrical outlets, HVAC vents, and uneven corners requires advanced carpentry skills and precise measuring.
Hiring contractors experienced with composite cladding provides significant structural value. Professional installation often guarantees warranty compliance. Manufacturers will void warranties if installation guidelines, such as expansion gaps and acclimation, are ignored. Professionals ensure complex framing, moisture barriers, and acoustic backing are handled correctly the first time, saving you from tearing down a failed installation months later.
Proper installation demands specific equipment. Attempting the job with inadequate tools leads to poor results, jagged cuts, and loose panels. You need the right gear to ensure straight cuts and level alignments.
Fine-tooth saw blades (80-tooth minimum) for clean crosscuts without splintering.
Laser levels for establishing perfect vertical and horizontal lines across long spans.
Pneumatic 18-gauge brad nailers for rapid, concealed fastening in the groove flange.
Tapping blocks and non-marring rubber mallets for safe joint engagement.
Magnetic stud finders for locating structural anchoring points behind drywall.
Factor in the necessity of proprietary accessories. Standard lumber yard trims rarely match composite finishes. You need specific edge caps and corner trims for a seamless finish. Premium construction adhesives and starter clips are also required for professional-grade results.
Tool / Accessory | Primary Function | Risk of Omitting |
|---|---|---|
Laser Level | Establishes perfect plumb lines for the first panel. | Entire wall installation becomes visibly slanted. |
80-Tooth Carbide Blade | Cuts composite material smoothly. | Splinters the decorative face and ruins 3D textures. |
Tapping Block | Distributes mallet force evenly along the panel edge. | Fractures the fragile interlocking groove system. |
Starter Clips | Secures the very first panel invisibly to the substrate. | Requires face-nailing the first panel, ruining aesthetics. |
Polyurethane Adhesive | Provides flexible, high-strength bonding to drywall. | Panels vibrate, bow, or detach under temperature shifts. |
The long-term performance and aesthetic value of composite cladding depend entirely on strict adherence to technical installation standards. You cannot ignore substrate preparation. Avoiding common errors, like skipping expansion gaps or forcing interlocking joints, ensures your installation remains structurally sound for decades.
Match your chosen panel profile with the realities of your substrate. Fluted, 3D, or waterproof panels each demand specific handling, tooling, and fastening methods. Assess the capabilities of your installation team honestly before beginning the project.
Take the following actionable steps to move forward:
Request detailed technical installation manuals directly from the panel manufacturers to verify warranty requirements.
Order sample kits to test cutting techniques and verify adhesive compatibility on your specific walls.
Map out your wall dimensions to calculate exact furring strip, sealant, and accessory requirements.
Consult with vetted local contractors regarding moisture testing and site preparation before ordering bulk materials.
A: Yes, you can install them over existing drywall if it is flat, dry, and structurally sound. Installing over tiles requires heavy-duty polyurethane adhesive and mechanical anchors drilled directly into the grout lines. If the tile surface is highly uneven, you must install furring strips first to create a flat framework.
A: Yes. Wood-plastic composites expand and contract with temperature changes. You must leave a 1/4-inch expansion gap at the ceiling, floor, and inside corners. Failing to leave this gap causes the panels to buckle and the interlocking joints to separate. Conceal these gaps with floating trim.
A: Polyurethane-based construction adhesives offer the best performance. They provide a strong bond while remaining slightly flexible to accommodate minor thermal expansion. Heavy-duty panel adhesives also work well. Always ensure the wall is clean, dry, and primed before applying any adhesive.
A: Cut 3D textured panels using a circular saw or miter saw equipped with an 80-tooth fine-finish blade. Apply masking tape over the cut line to prevent the textured face from splintering. Finish exposed edges and outside corners using proprietary edge caps designed specifically for the panel's relief profile.
A: Furring strips are necessary if the substrate is uneven or if you are installing over a masonry wall in a damp basement. The strips create an air gap that allows trapped moisture to evaporate. On perfectly flat, dry interior drywall, furring strips are generally not required.
A: Panels should acclimate for 48 to 72 hours in the room where they will be installed. Lay the boxes flat on the floor. Ensure the room's heating or cooling system is running at normal occupancy levels. This allows the composite material to adjust to the ambient temperature and humidity.