

close
Choose Your Site
Global
Social Media
Views: 0 Author: Site Editor Publish Time: 2026-09-16 Origin: Site


The construction industry is shifting away from traditional tiling in wet areas due to the high maintenance of grout lines, the labor-intensive installation process, and the desire for rapid bathroom transformations. Grout lines require constant maintenance. They trap moisture, breed mold, and eventually crack under structural movement. The traditional installation process is incredibly labor-intensive. Installers must mix thinset, cut ceramics with wet saws, and wait days for materials to cure. Consumers and contractors need 100% waterproof, durable wall coverings for showers and wet rooms. However, the market is flooded with low-density, easily punctured plastics and confusing "shower-safe" marketing claims that fail to deliver true long-term reliability under daily use, leading to widespread skepticism. High-quality bathroom wall panels offer the optimal balance of seamless coverage, structural integrity, and cost-efficiency. This guide evaluates top panel categories based on thickness, core density, and installation realities to facilitate an informed purchasing decision and guarantee a watertight finish.
Seamless Waterproofing: 1m wide PVC bathroom wall cladding panels drastically reduce the number of vertical joints in a shower enclosure, minimizing potential water ingress points compared to standard 250mm panels or traditional tiles.
Material Density Matters: Not all PVC is equal; evaluating the core structure (e.g., 10mm cellular PVC vs. 5mm hollow core) is critical for impact resistance, longevity, and avoiding the cheap "hollow sound."
Installation Realities: Proper surface preparation—whether dealing with old tiles, bare plasterboard, or peeling wallpaper—and the use of high-grab, moisture-curing adhesives are non-negotiable for preventing panel delamination.
Cost vs. Value: While premium 1000mm PVC bathroom wall panels require a higher upfront material investment than basic narrow panels, they yield significant savings in labor, allow for weekend-turnaround renovations, and eliminate lifetime grout maintenance.
Panel width directly impacts the waterproof integrity of your shower enclosure. When framing a shower, water always finds the weakest point. Standard ceramic tiles rely on cementitious grout, which is inherently porous. Even with chemical sealers, structural shifting in timber-framed houses causes micro-cracks in grout lines. Water wicks through these cracks, saturating the plasterboard or timber studs behind the wall. This leads to blown tiles and severe structural rot. Wide panels eliminate this failure point entirely.
A standard 1000mm x 2400mm sheet covers a standard shower wall in a single drop. Most residential shower trays measure 900mm by 900mm or 1200mm by 900mm. This means you can cover an entire return wall with just one panel. You eliminate all vertical joints within the primary splash zone. Fewer joints mean fewer places for water to penetrate the wall structure. Standard 250mm panels require three vertical joints on a single 900mm wall. Each joint introduces a potential failure point. Wide panels remove this risk.
Here are the primary structural benefits of wide-format panels:
Complete elimination of vertical joints in the primary splash zone.
Reduction of thermal expansion stress across multiple small joints.
Creation of a continuous, impermeable barrier from the shower tray to the ceiling.
Prevention of mold root systems that typically anchor in porous grout.
This massive footprint also eliminates grout lines completely. Grout absorbs water, traps soap scum, and provides a breeding ground for mold. Removing grout brings immediate, long-lasting hygienic benefits. Mold and mildew have nowhere to anchor on a flat PVC surface. You simply wipe the wall clean in seconds with a microfiber cloth. The structural advantage of wide panels translates directly into superior hygiene and lower maintenance.
Selecting the right core material determines how the panel performs over a decade of use. We must compare the three dominant materials in the wet wall market to understand their specific applications.
Material Type | Composition | Water Resistance | Best Application |
|---|---|---|---|
PVC (Polyvinyl Chloride) | Cellular or solid extruded plastic | 100% Waterproof | Direct-to-wall shower enclosures and high-moisture wet rooms. |
SPC (Stone Plastic Composite) | Limestone powder mixed with stabilizers | Highly Water Resistant | Impact-heavy areas, though harder to cut and maneuver in tight spaces. |
WPC (Wood Plastic Composite) | Wood flour blended with thermoplastics | Moderate (Vulnerable if core is exposed) | Dry areas requiring acoustic dampening; high risk in direct splash zones. |
PVC remains the dominant choice for wet areas. It is lightweight, cost-effective, and highly water-resistant. It works best for direct-to-wall shower applications. You should prioritize cellular or solid PVC over hollow-core options. The manufacturing process of cellular PVC involves injecting gas during extrusion. This creates a honeycomb-like internal structure. It reduces the overall weight of the panel while maintaining high compressive strength. You get a board that is easy to carry up a flight of stairs but strong enough to withstand a heavy impact from a slipping bather.
SPC offers higher impact resistance due to its stone core. However, SPC is significantly heavier. Maneuvering heavy SPC sheets in tight bathroom spaces poses serious logistical challenges. It also dulls saw blades quickly during installation. WPC provides excellent acoustic properties. Yet, it carries a higher risk of moisture absorption. If water reaches an exposed WPC core through a poorly sealed joint, the wood fibers will swell and the panel will fail.
Many consumers doubt panel reliability as a full tile replacement. Vague marketing claims fuel this skepticism. Manufacturers often label thin, flimsy plastics as suitable for showers. These products fail quickly, damaging the reputation of all wall panels. A successful bathroom wall panel installation requires zero water penetration into the substrate. The surface must resist harsh chemical cleaners without fading or blistering. The core must maintain structural stability against extreme temperature fluctuations from hot showers.
You must look past marketing fluff to verify 100% waterproof core materials. Only solid or high-density cellular PVC guarantees this long-term performance. Tap the panel with your knuckles. It should sound solid, not hollow. Check the extrusion profile. Thin web structures inside the panel indicate a weak product. A successful installation also relies heavily on the installer. Even the best panel will fail if sealed with cheap silicone. Overcoming skepticism requires understanding that premium panels, when paired with professional installation methods, outperform traditional tiles in wet environments.
DIY installers often face confusion regarding panel thickness. The market offers 5mm, 8mm, and 10mm panels. Understanding the trade-offs is critical for a durable finish.
Thickness | Core Structure | Durability Profile | Recommended Use |
|---|---|---|---|
5mm | Wide hollow core, minimal webbing | Low impact resistance, prone to puncture | Ceilings or low-traffic dry walls |
8mm | Medium density cellular | Moderate impact resistance | Secondary bathrooms, utility rooms |
10mm | Heavyweight high-density cellular | Maximum impact resistance, rigid feel | Primary showers, commercial wet rooms |
Thinner 5mm panels are generally flimsy. They often feature a wide hollow core with minimal internal webbing. This creates a cheap, hollow sound when tapped. They puncture easily under moderate impact, such as a slipped elbow or a dropped showerhead. Water will enter the wall cavity immediately if the face is punctured.
10mm heavyweight cellular PVC is the industry standard for commercial and high-traffic residential wet rooms. This thickness prevents puncture risks almost entirely. The dense cellular structure provides a rigid, tile-like feel against the wall. The extrusion process creates micro-bubbles within the PVC, giving it incredible strength without excessive weight. When you press against a 10mm panel, it does not deflect or bend. This rigidity ensures the silicone seals at the corners remain intact. If a panel flexes, it tears the silicone away from the wall, causing leaks. Always specify 10mm high-density panels for primary shower enclosures.
Panel connections determine the waterproof integrity of the entire room. You have two main options for joining panels: Tongue and Groove (T&G) interlocking systems or aluminum H-trims. T&G systems create a flush fit between panels. You apply a continuous bead of sanitary silicone inside the groove before inserting the tongue. This creates a hidden waterproof gasket. The tight connection hides the seam visually and prevents water ingress. Flush-fit joints maintain the structural integrity of the wall while delivering a seamless, modern aesthetic.
Alternatively, you can use aluminum or PVC H-trims to join square-edged panels. You slide the panels into the trim channels filled with silicone. Trims offer strong mechanical joints and protect the panel edges. However, they break up the visual flow of the wall. Dirt and soap scum can accumulate along the raised edges of the trim. For a high-end look, precision-milled T&G joints are vastly superior. They require more accurate cutting and perfectly plumb walls, but the final result is a continuous, uninterrupted surface.
The visual appeal of your bathroom relies entirely on the printed laminates. Modern manufacturing creates highly realistic stone, wood, and tile effects. Manufacturers use hot-stamping or cold lamination processes to apply these designs. You must assess the durability of these laminates before purchasing. They need strong UV resistance to prevent fading from sunlight streaming through bathroom windows. A faded panel ruins the aesthetic of the entire room.
The panels also require a heavy-duty clear wear layer. This top coat protects the printed design from abrasive bathroom cleaning agents. Shampoos, body washes, and hard water scale require regular cleaning. A thick clear coat ensures the design remains vibrant and scratch-free for years. Test the surface by rubbing it firmly with a damp cloth. The finish should feel smooth and non-porous. Textured finishes that mimic natural stone or wood grain must have synchronized embossing. This means the physical texture matches the printed pattern, providing a premium tactile feel without trapping dirt.
High-traffic areas require maximum durability and strict safety compliance. Family bathrooms endure multiple showers per day, high humidity, and constant temperature cycling. Focus exclusively on 10mm thick, high-density extruded PVC panels for these environments. These panels withstand heavy daily use without structural degradation. They must carry a Class 1 fire rating to meet building safety regulations. This rating ensures the material resists ignition and prevents rapid flame spread.
Heavy-duty wear layers are mandatory here. They protect against scratches from cleaning tools and chemical exposure from strong detergents. These panels are perfectly suited for direct, continuous water exposure in walk-in wet rooms. 1000mm PVC wet wall panels in this category offer uncompromising strength. They provide peace of mind for contractors and homeowners alike. You install them once, seal them correctly, and they perform flawlessly for decades.
Secondary bathrooms, downstairs toilets, and utility rooms might not need commercial-grade strength. You can explore options in the 8mm range for these spaces. These panels require some compromises to achieve a lower price point. You will generally find fewer finish options available in this category. The impact resistance is slightly lower than 10mm boards due to thinner internal webbing. You must handle them more carefully during installation to avoid edge damage.
However, they maintain 100% waterproof integrity. The PVC material itself remains completely impervious to water. They keep moisture out of the wall cavity just as effectively as thicker panels. This makes them ideal for guest bathrooms or light-use ensuites where heavy impacts are unlikely. They offer a clean, hygienic surface at a fraction of the cost of premium ranges. Always ensure you still use high-quality adhesives and sealants, even with budget panels.
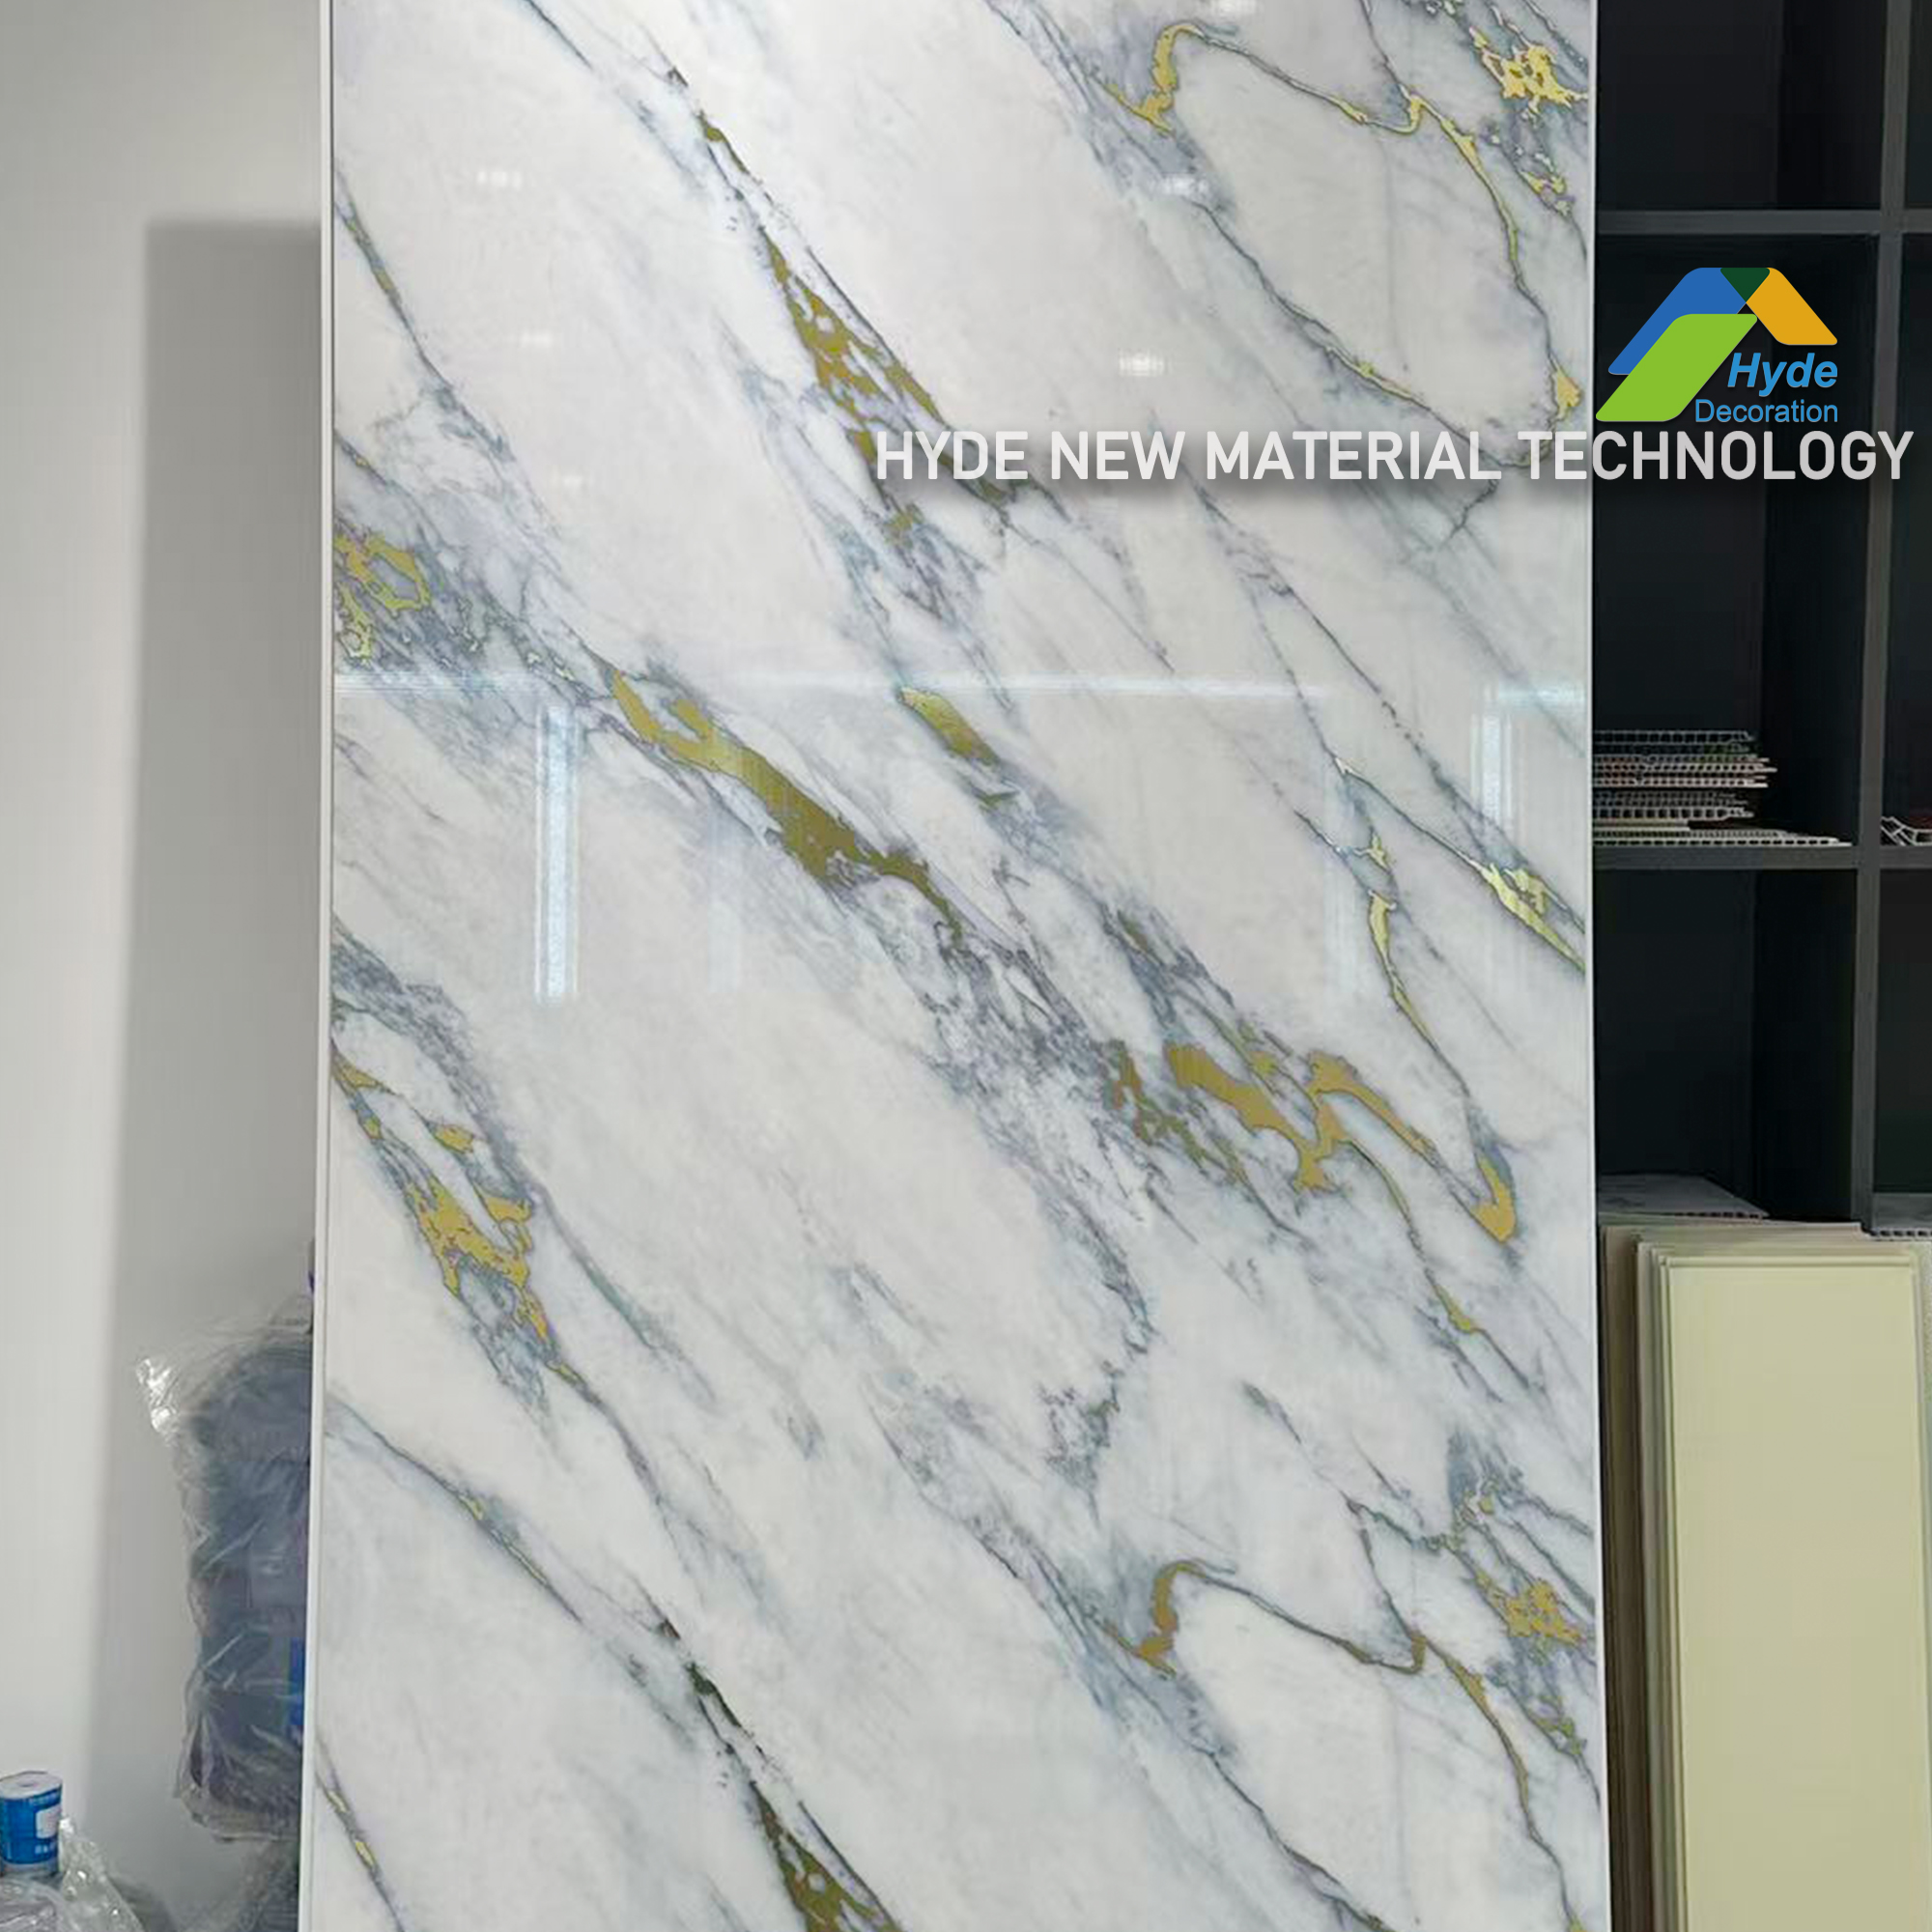
Luxury bathroom designs demand high-fidelity digital prints and sophisticated textures. Premium panels offer stunning representations of marble, concrete, and matte finishes. Advanced printing technology captures the intricate veining of natural stone perfectly. Textured surfaces mimic natural materials without the associated porosity or massive weight. You get the look of a solid marble slab without needing reinforced walls to support it.
These architectural panels transform a basic bathroom into a high-end spa environment. They resist stains from hair dyes and cosmetics better than natural stone. 1m wide PVC bathroom wall cladding panels deliver this high-end aesthetic while keeping the installation process manageable. You achieve a bespoke, designer look in a single weekend. The seamless finish enhances the perception of space, making small bathrooms feel much larger and more open.
You can install panels over existing tiles, bare plasterboard, or marine plywood. However, surface preparation is absolutely critical to prevent delamination. You must address the reality of your specific substrate. Adhesives will only bond as well as the surface they are applied to. If you stick a panel to a loose tile, the panel will eventually fall off the wall.
Follow these steps when preparing to install over existing tiles:
Inspect the existing tiled wall by tapping each tile with a screwdriver handle to identify hollow, loose areas.
Remove any loose tiles and fill the resulting voids with a rapid-set cement compound to create a flush surface.
Scrub the entire wall with a heavy-duty TSP (Trisodium Phosphate) degreaser to strip away years of soap scum and body oils.
Rinse the wall thoroughly with clean water and allow it to dry completely for at least 24 hours.
Lightly scuff high-gloss tiles with 80-grit sandpaper to provide a mechanical key for the polymer adhesive.
Plasterboard requires a different approach. Bare plasterboard is highly porous. If you apply polymer adhesive directly to dusty plasterboard, the dust will pull away from the paper face, taking the adhesive with it. You must seal bare plasterboard with an acrylic primer before installation. This consolidates the surface dust and provides a solid key for the adhesive. You must completely remove old bathroom wallpaper. Wallpaper paste re-activates with moisture and will cause the panel to detach. Flaking paint must be sanded down to a solid, stable substrate.
Using the wrong chemicals will ruin your installation. Never use standard decorators' caulk behind or between panels. Avoid low-grade, cheap silicones entirely. They will shrink, crack, and fail in a wet environment. You must specify high-grab, moisture-curing hybrid polymer adhesives. These adhesives cure via ambient moisture and provide extreme initial grab. They remain permanently flexible to handle slight wall movement and thermal expansion without breaking the bond.
When applying adhesive, many novices make the mistake of using a continuous snake pattern. This traps air pockets behind the panel. If the wall gets warm, the trapped air expands and pushes the panel off the wall. Instead, apply adhesive in straight, vertical beads spaced 100mm apart. This allows air to escape from the top and bottom as you press the panel into place. It also provides vertical channels for any accidental condensation to drain away safely.
For sealing joints and edges, specify sanitary-grade, mold-resistant silicone. Apply this silicone generously to all internal corners before pushing the panels into the corner trims. You must also seal the base extrusions where panels meet the shower tray or bath deck. Apply a continuous bead of silicone along the bottom edge of the panel before seating it. Wipe away the excess immediately for a clean finish. The integrity of the waterproof system relies entirely on these sealant protocols.
Maneuvering large sheets in confined residential spaces presents significant logistical challenges. A 1000mm x 2400mm panel is unwieldy. You must carry the panels on their edge. Carrying a panel flat will cause it to bow and potentially snap under its own weight. Two people should navigate the panels up narrow staircases and through tight hallways. Protect the corners during transport, as a crushed corner will ruin the flush fit of the joint.
Cutting requires technical precision to prevent edge chipping and laminate tearing. Follow these cutting protocols:
Set up a stable, flat workbench to support the entire length of the panel during the cut.
Measure the required dimensions and mark the cut line using a soft pencil and a long straight edge.
Apply a strip of masking tape over the cut line to prevent the laminate face from splintering.
If using a manual fine-tooth saw, position the panel face-up so the teeth cut down into the decorative finish.
If using a circular saw, position the panel face-down and use an 80-tooth carbide-tipped blade designed for plastics.
Set the circular saw blade depth so it barely clears the thickness of the panel. This shallow cutting angle reduces upward lifting force on the laminate, preventing jagged edges. Support the panel fully across the workbench while cutting to prevent vibration and cracking.
Evaluating the initial outlay requires looking at the complete material list. Quality 1000mm PVC bathroom wall panels require a solid initial investment per sheet. You must compare this to mid-range ceramic or porcelain tiles. However, the cost of tiles is only the beginning. Tiling requires bags of specialized thinset adhesive, waterproof backer boards, tanking slurry, spacers, and grout. You also need grout sealer to prevent immediate staining. When you combine all necessary tiling materials, premium wall panels often present a highly competitive upfront material cost. You buy the panels, the polymer adhesive, and the silicone. The material list is short, predictable, and easy to calculate.
The installation time difference between panels and tiles is massive. You can often install and seal an entire shower enclosure with panels in a single weekend. Friday evening involves surface preparation and degreasing. Saturday morning is dedicated to cutting and adhering the panels to the wall. Saturday afternoon involves sealing the edges and corners with silicone. By Sunday morning, the silicone has cured, and the shower is ready for use.
Tiling requires days of intensive, messy labor. A contractor must install backer boards, apply waterproof tanking, and wait for it to dry. They must mix thinset, carry heavy bags of adhesive, cut tiles on a wet saw, and set each tile individually. They must wait 24 hours for the adhesive to cure before applying grout. Then they must clean the grout haze and wait again before sealing the grout. Panels bypass these delays entirely. This rapid turnaround significantly reduces contractor labor fees and minimizes disruption to your household.
A grout-free surface delivers ongoing financial and time savings over the life of the bathroom. You never need to regrout the shower enclosure. You will not need to purchase specialized mold-removal chemicals or harsh bleach sprays. There are no crumbling grout joints to repair or replace. Scrubbing grout removes layers of the material over time, leading to water ingress and structural rot.
Panels eliminate this entire maintenance cycle. You simply wipe the smooth surface down with mild soap and warm water. A quick squeegee after a shower keeps the panels looking brand new. This low-maintenance reality preserves the bathroom's appearance for years. You spend your weekends enjoying your home rather than scrubbing bathroom walls. The efficiency of panels extends far beyond the initial installation phase.
Take the following steps to ensure a successful bathroom renovation:
Order physical material samples to test laminate durability, core density, and finish quality firsthand.
Measure your wall space accurately, accounting for ceiling height and shower tray width, to calculate exact sheet requirements.
Remove all loose materials and thoroughly degrease existing surfaces before beginning installation.
Consult with a certified installer regarding substrate preparation and the correct selection of hybrid polymer adhesives.
A: Yes, you can install panels directly over existing tiles. The tiles must be structurally sound and firmly attached to the wall. You must thoroughly degrease the tiles with a heavy-duty cleaner to remove soap scum. Use a high-grab hybrid polymer adhesive to ensure a permanent bond to the glazed tile surface.
A: No, you cannot install panels over wallpaper. The moisture in the adhesive will re-activate the wallpaper paste, causing the panel to detach. You must completely remove all wallpaper. For painted walls, sand back any flaky or loose paint to a solid substrate before applying your adhesive.
A: The solid or cellular PVC material itself is 100% waterproof. However, the integrity of the entire wall system relies entirely on correct installation. You must use sanitary-grade silicone to seal all joints, internal corners, and base extrusions to prevent water from bypassing the panels.
A: 10mm is the optimal standard for wet areas. It provides superior rigidity, excellent impact resistance, and a premium, solid feel against the wall. Thinner 5mm panels are prone to flexing and puncturing, making them unsuitable for high-traffic primary shower enclosures.
A: Use a fine-tooth saw for clean cuts. If using a manual hand saw, cut the panel face-up. If using a power tool like a circular saw or jigsaw, cut the panel face-down. This technique protects the printed laminate face from chipping and tearing during the cutting process.
A: No, they are entirely grout-free. Panels connect using precision tongue-and-groove joints or specialized aluminum and PVC trims. This creates a seamless, watertight finish that eliminates the maintenance, mold, and cracking issues associated with traditional tile grout.
A: Quality panels offer a realistic lifespan of 10 to 15 years or more. Longevity depends heavily on the core density, proper routine maintenance with non-abrasive cleaners, and the quality of the initial hybrid adhesive and silicone sealant application.